Succulent Pumpkin Centerpiece Tutorial
Have I got the PERFECT Thanksgiving Centerpiece for you!
It’s made from all natural materials (no faux anything here!) and it is easily transportable so you can take it as a splendid hostess gift to thank the one preparing the feast this year.
Don’t let the rustic elegance fool ya… these are simple to put together and you might even have the supplies already in your home.
I used ornamental pumpkins that I had already purchased from my Fall home decor this year, and some of the succulents I used for this project I already had growing in my garden. Or, just pick some up at your local Nursery or Garden Center
Did you know you can just cut most succulents off at the base, and they will reroot wherever they are put? True story!
And did you know they don’t need traditional soil to grow? They can grow in sand or even moss, like we are going to do here.
What’s even more cool about this project is that you can just let the pumpkin decay as usual and then cut the top off and replant the entire design right into a pot or the ground!
OK… Let’s do this…
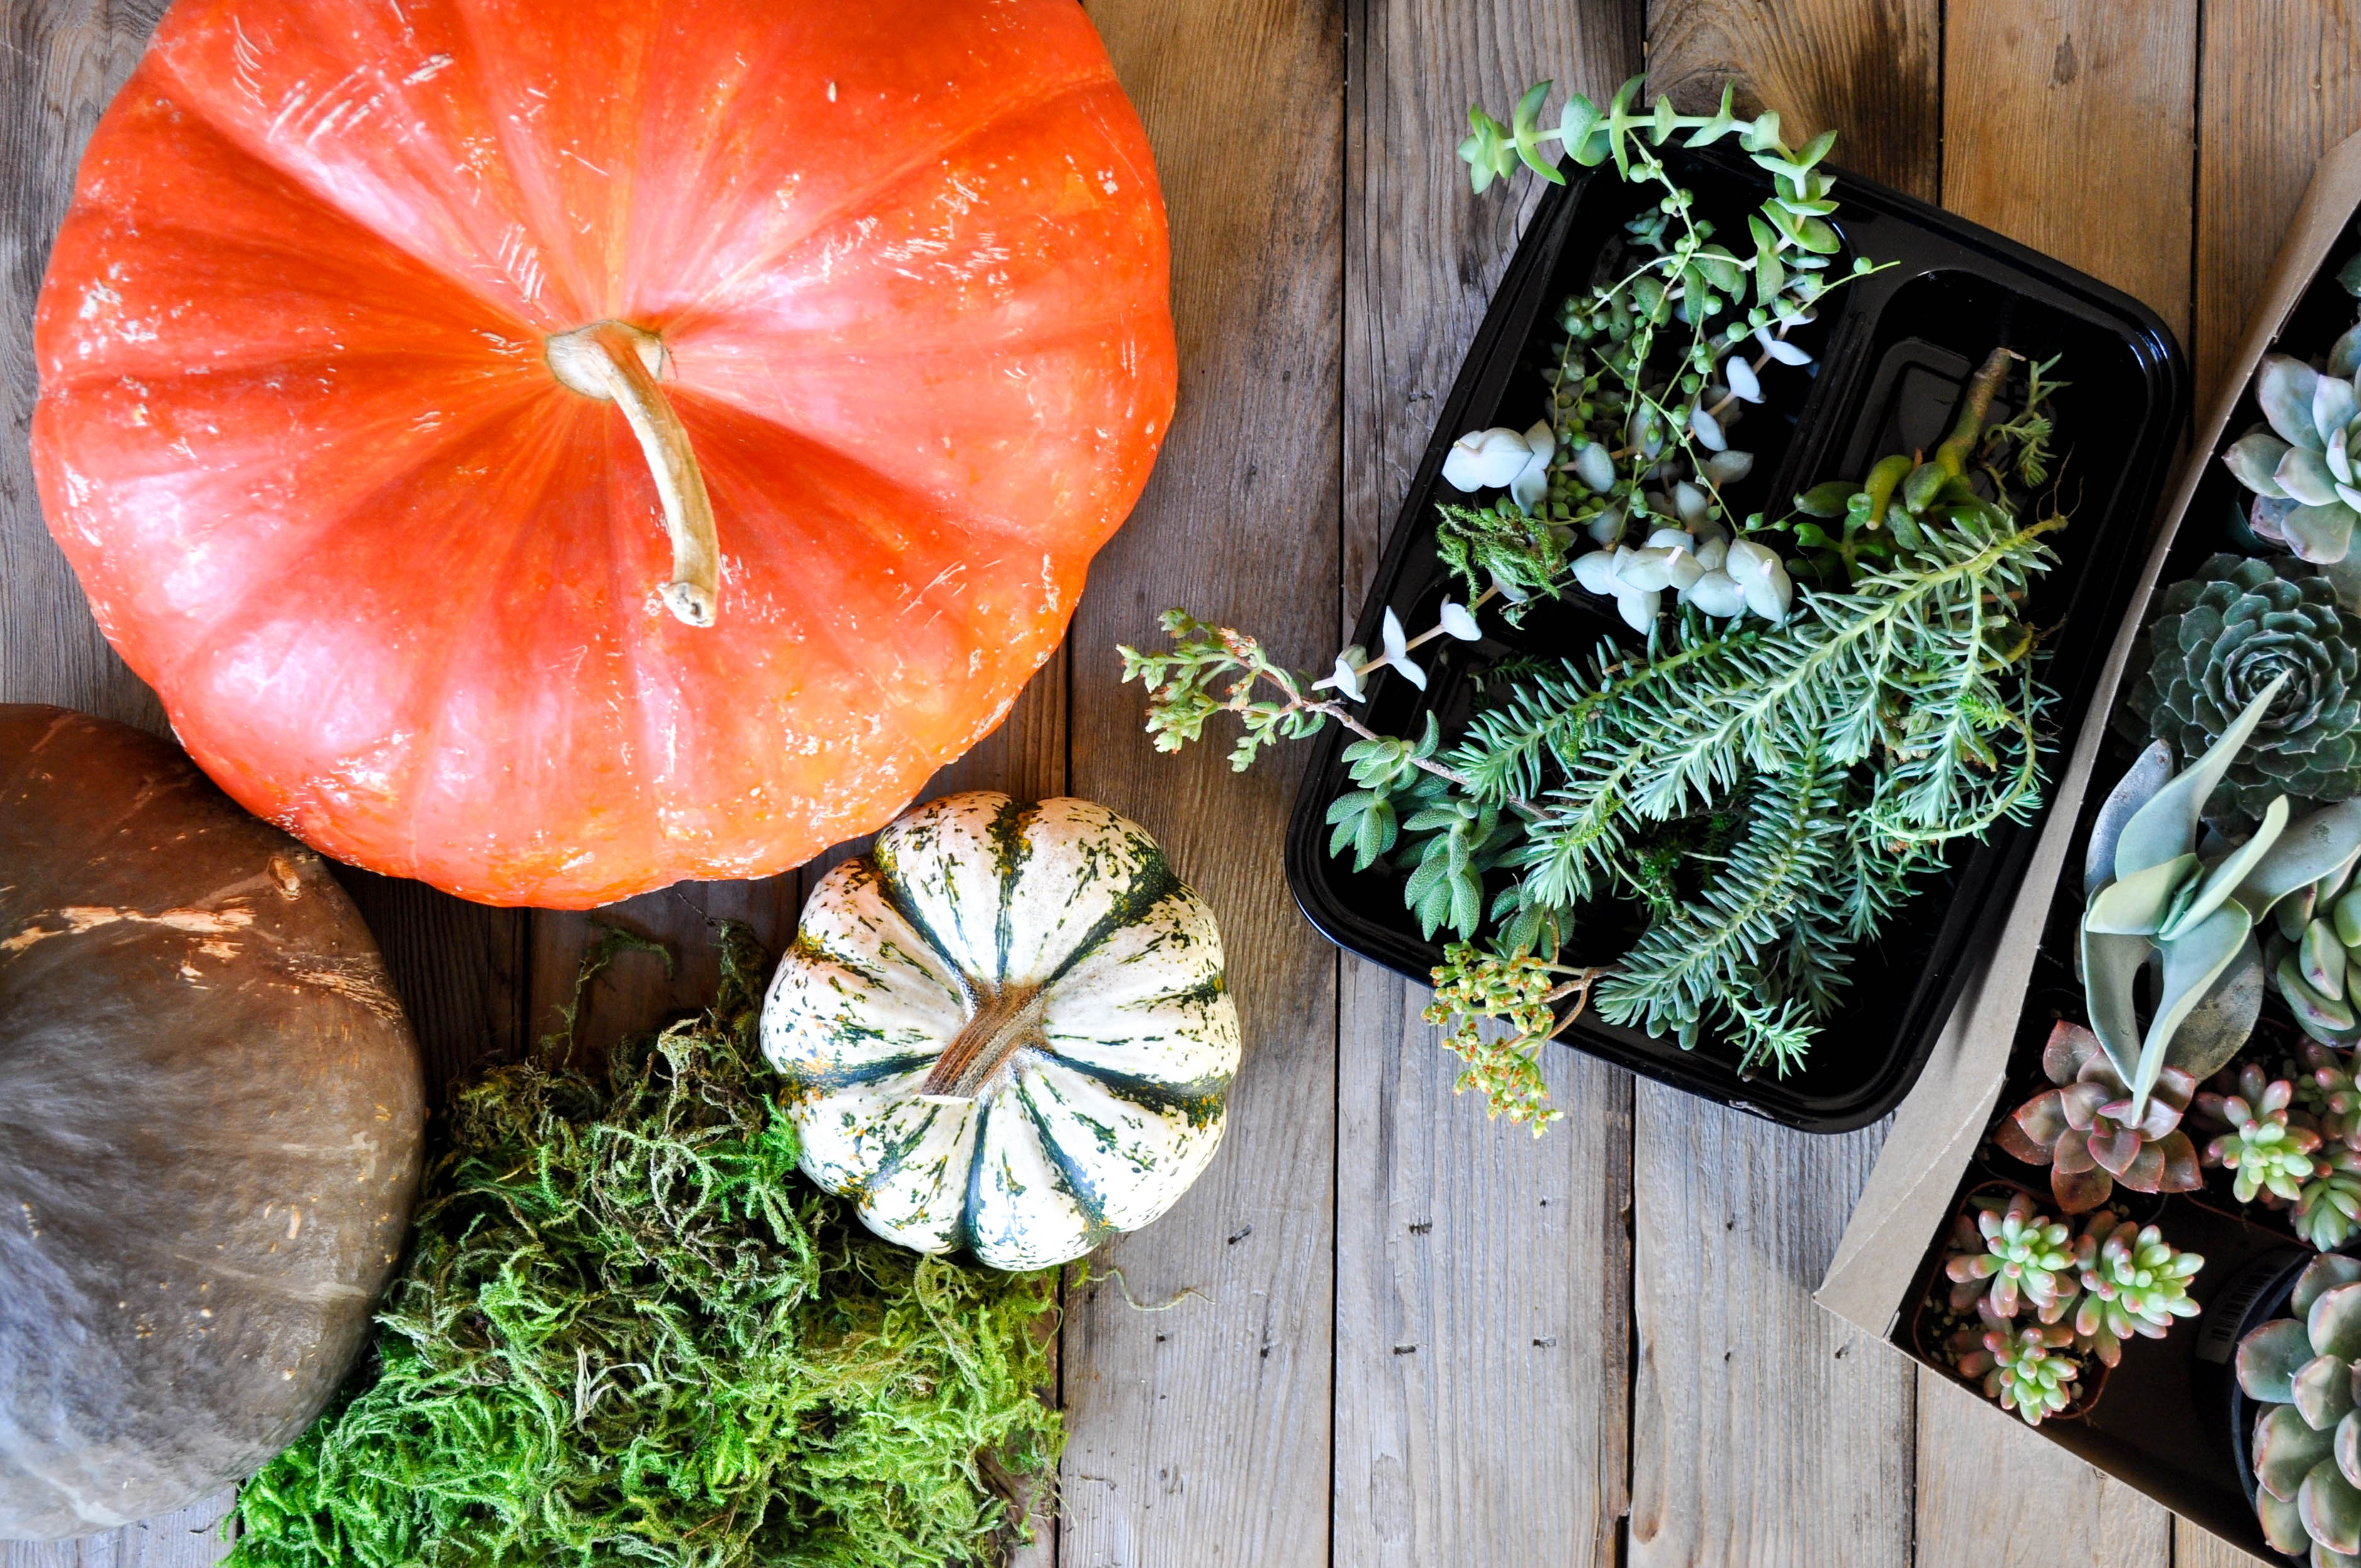
What you’ll need are pumpkins of your choice, moss, hot glue gun, and succulents in varyings sizes and types.
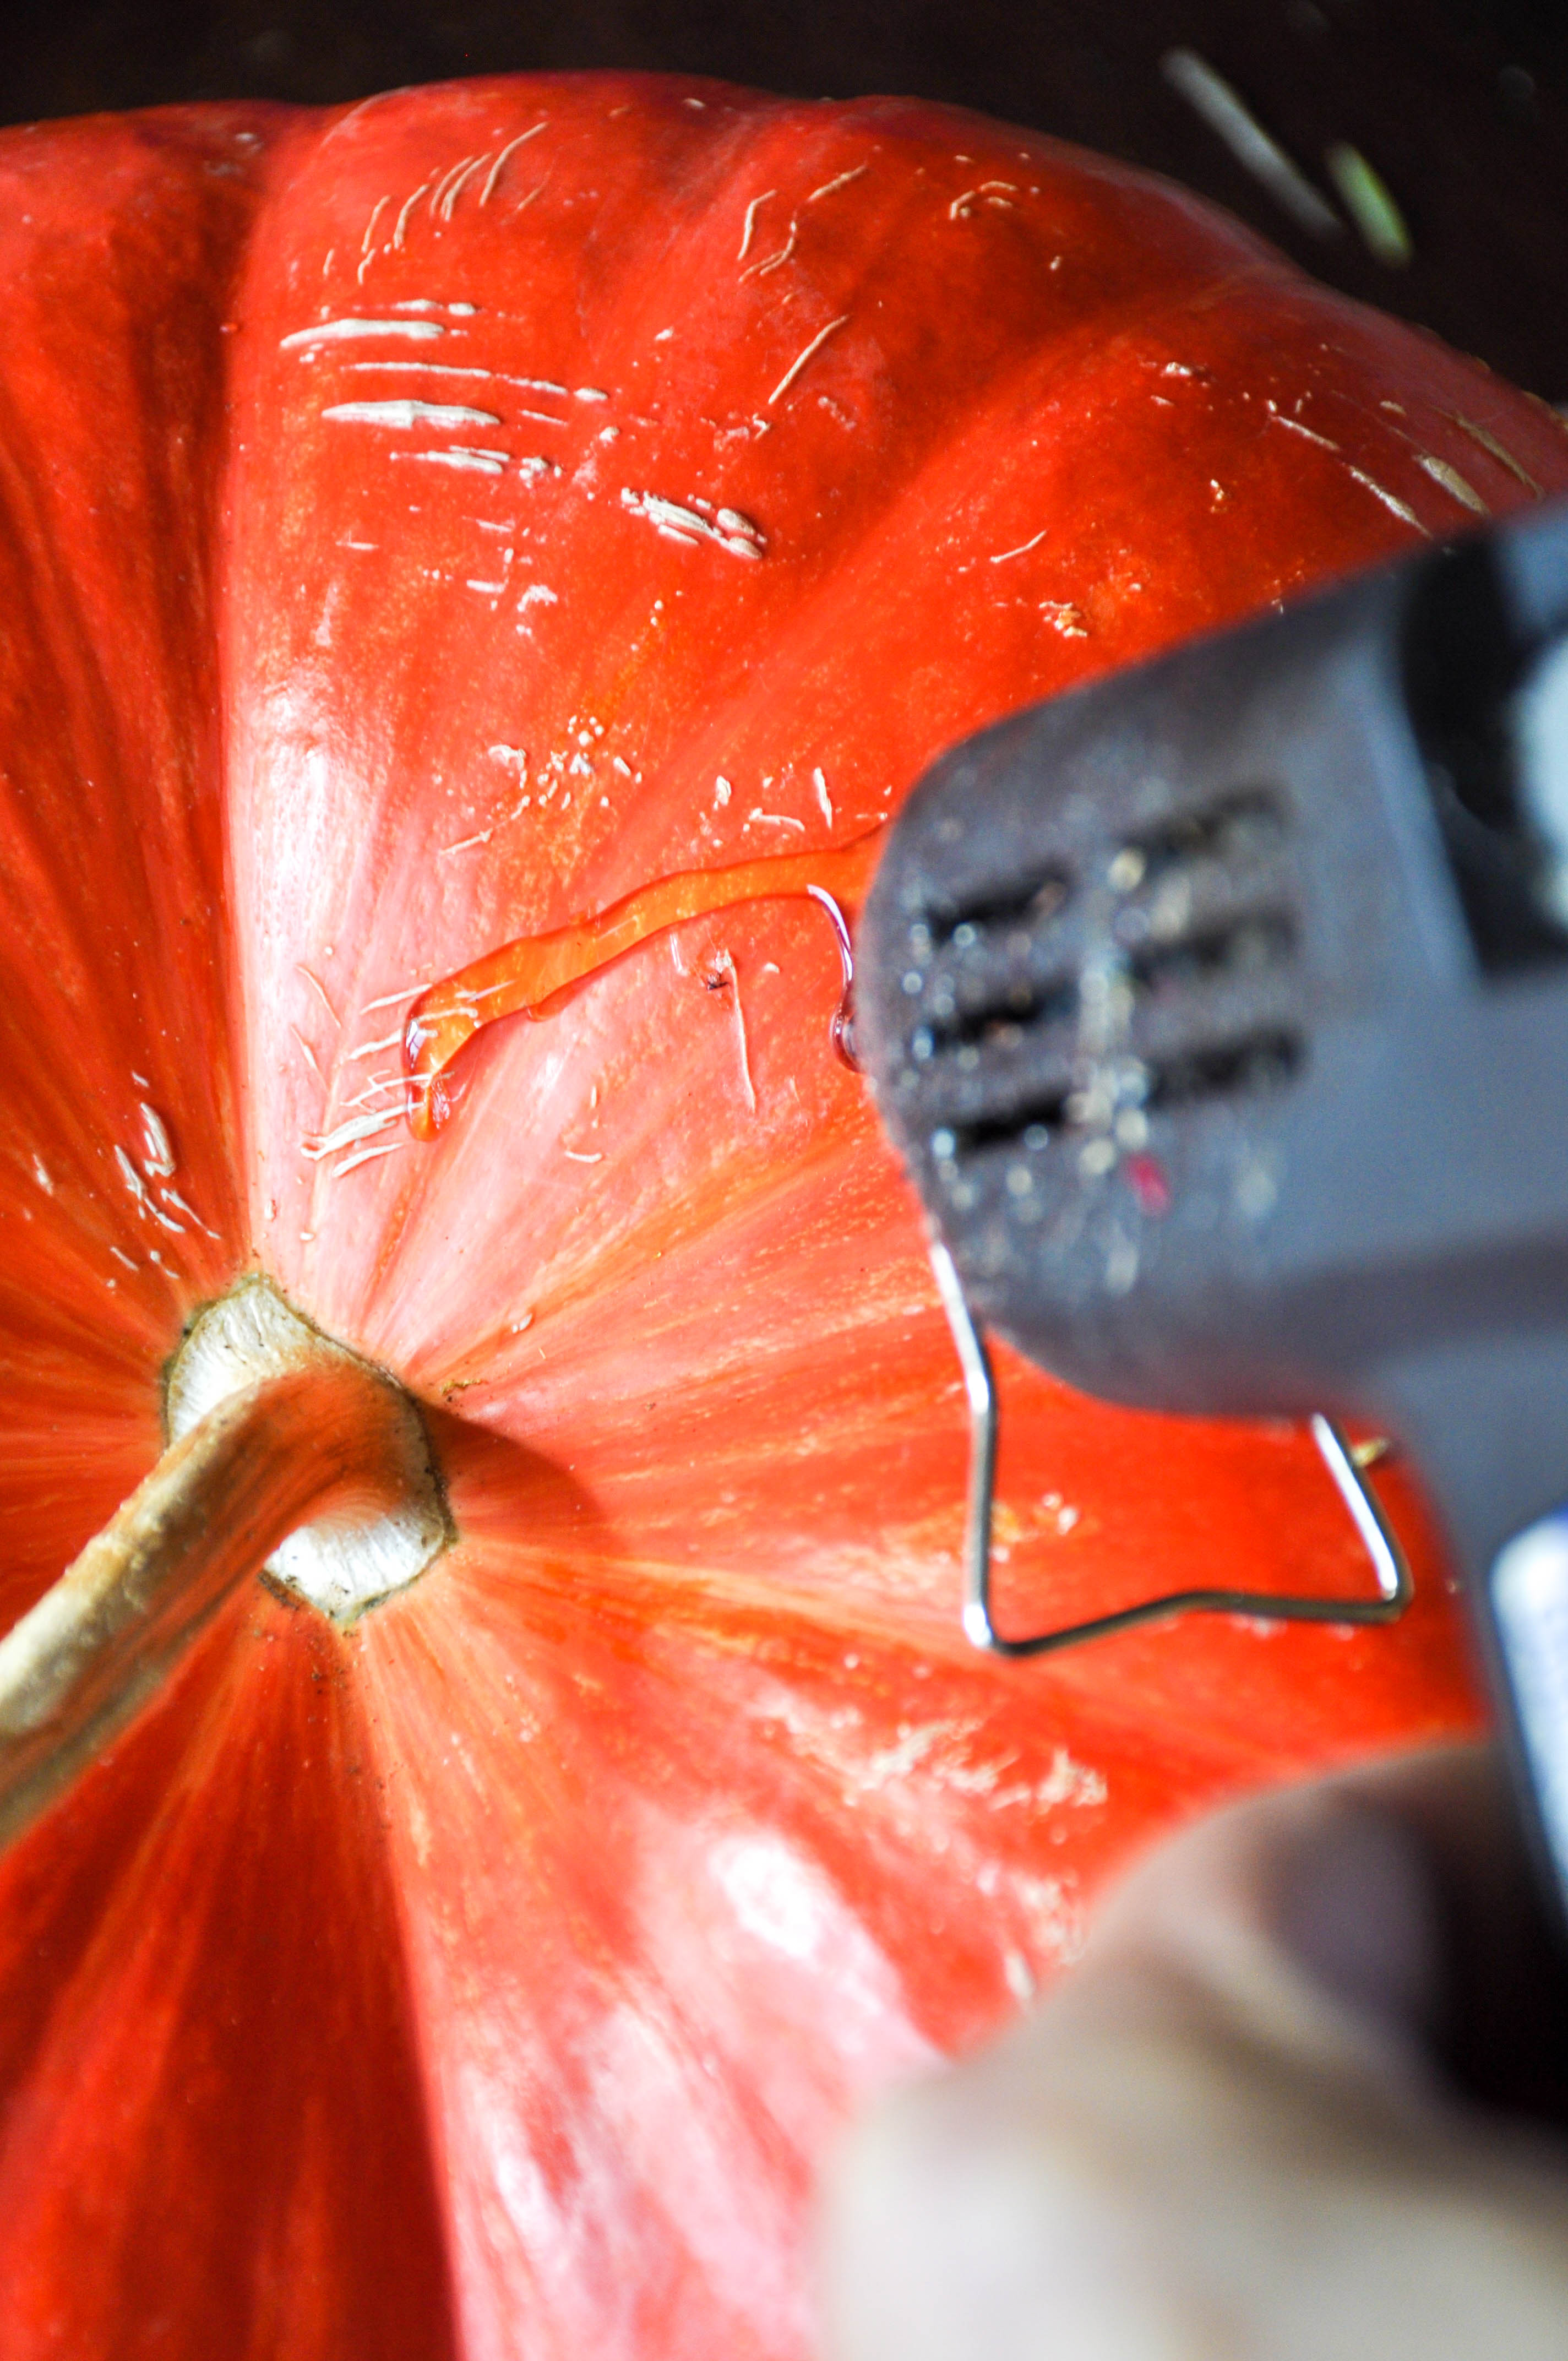
Heat your glue gun up and add a healthy amount onto the top of the pumpkin
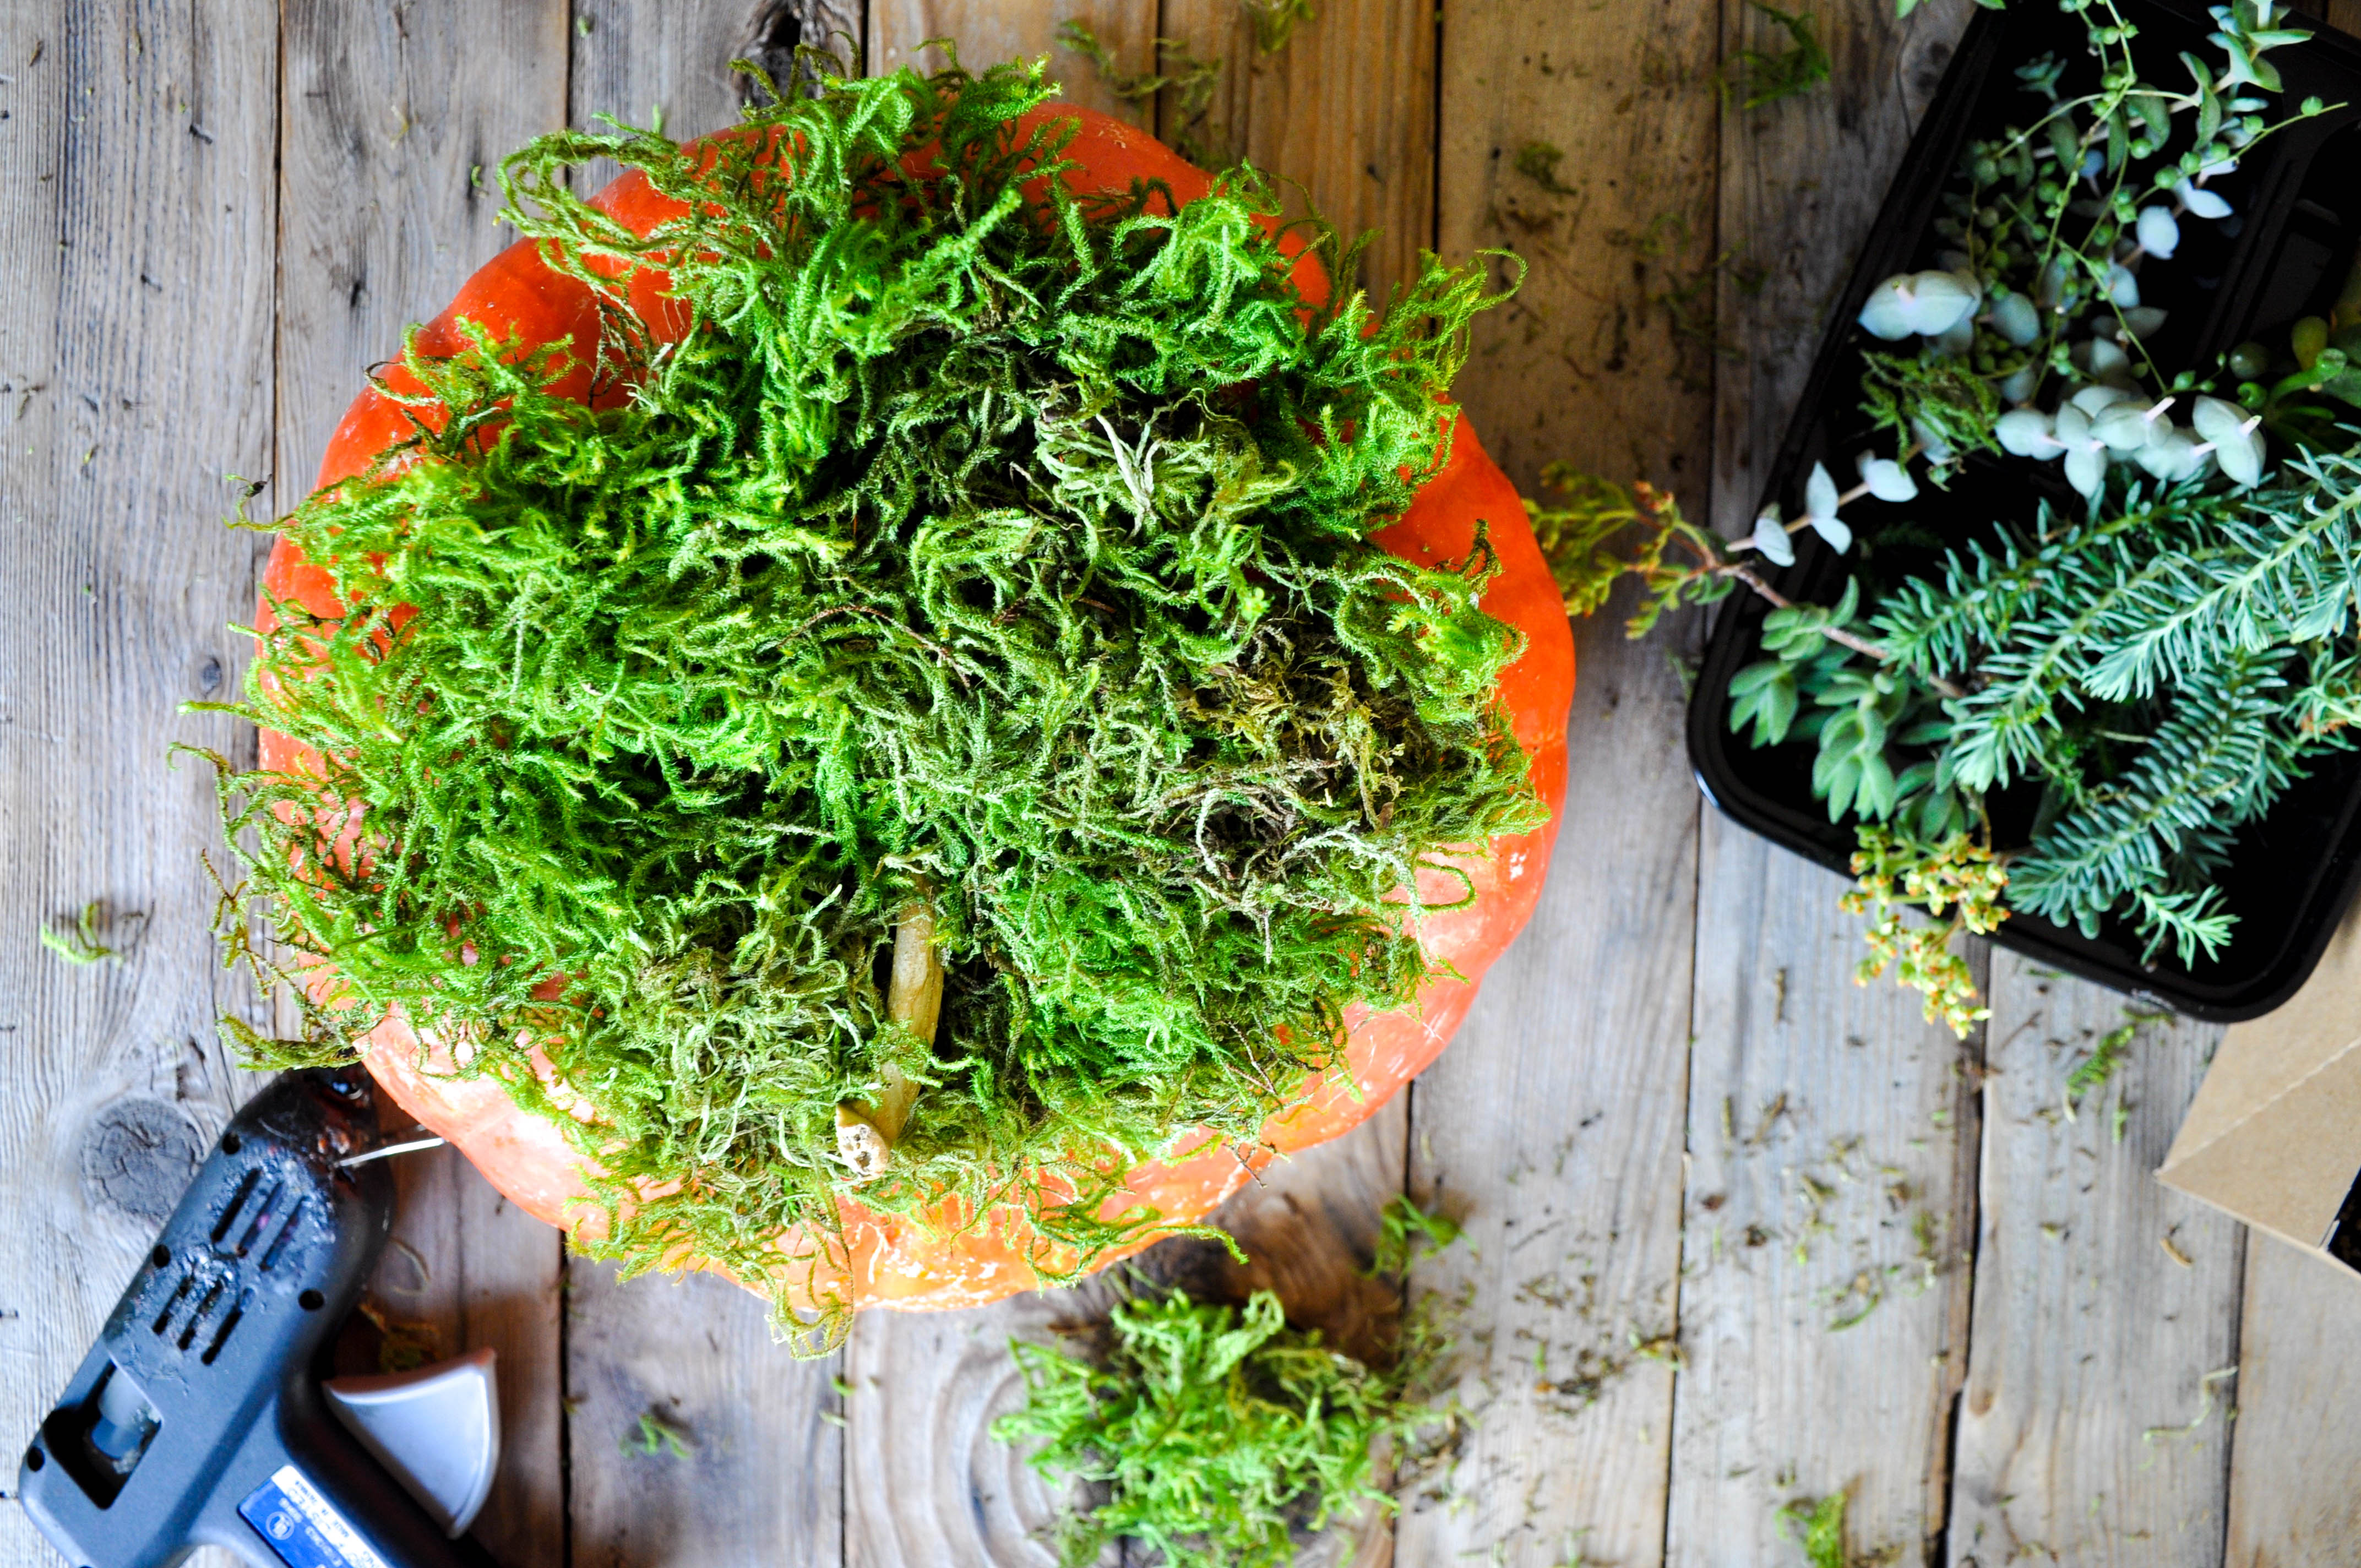
Press a generous amount of moss and press down so the glue sticks. You may need to spot glue a few places to make sure the moss stays put.
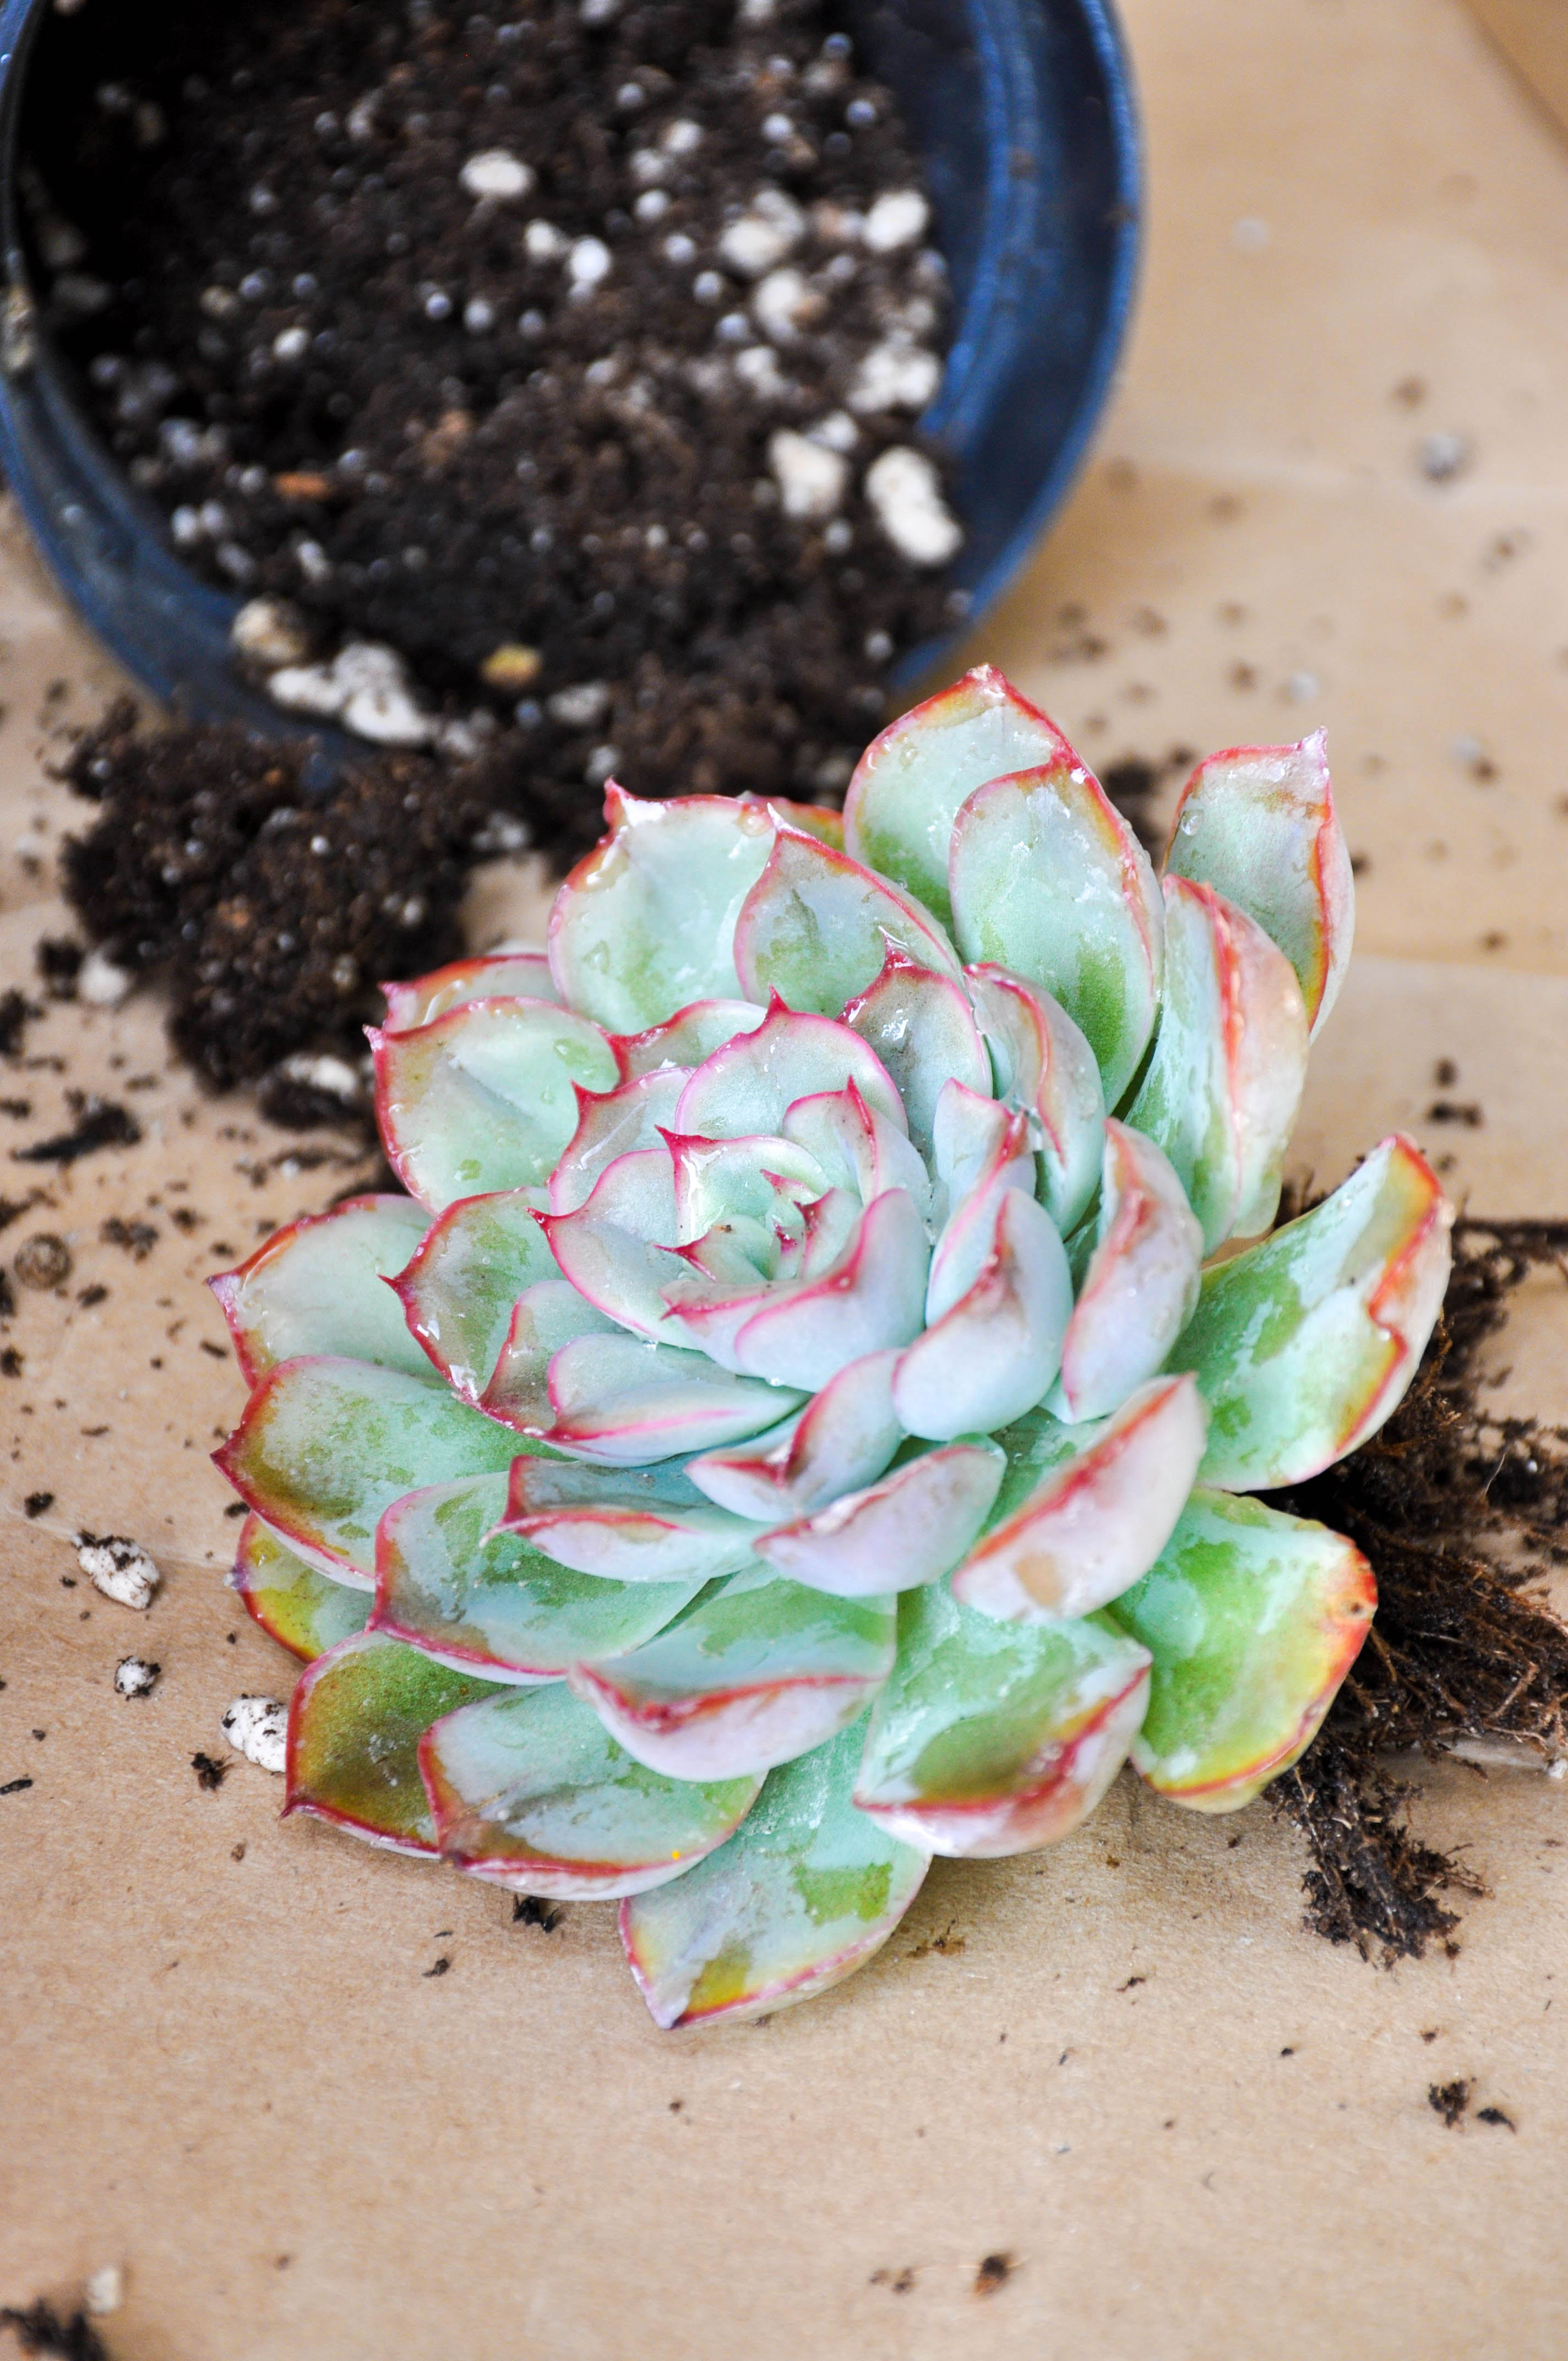
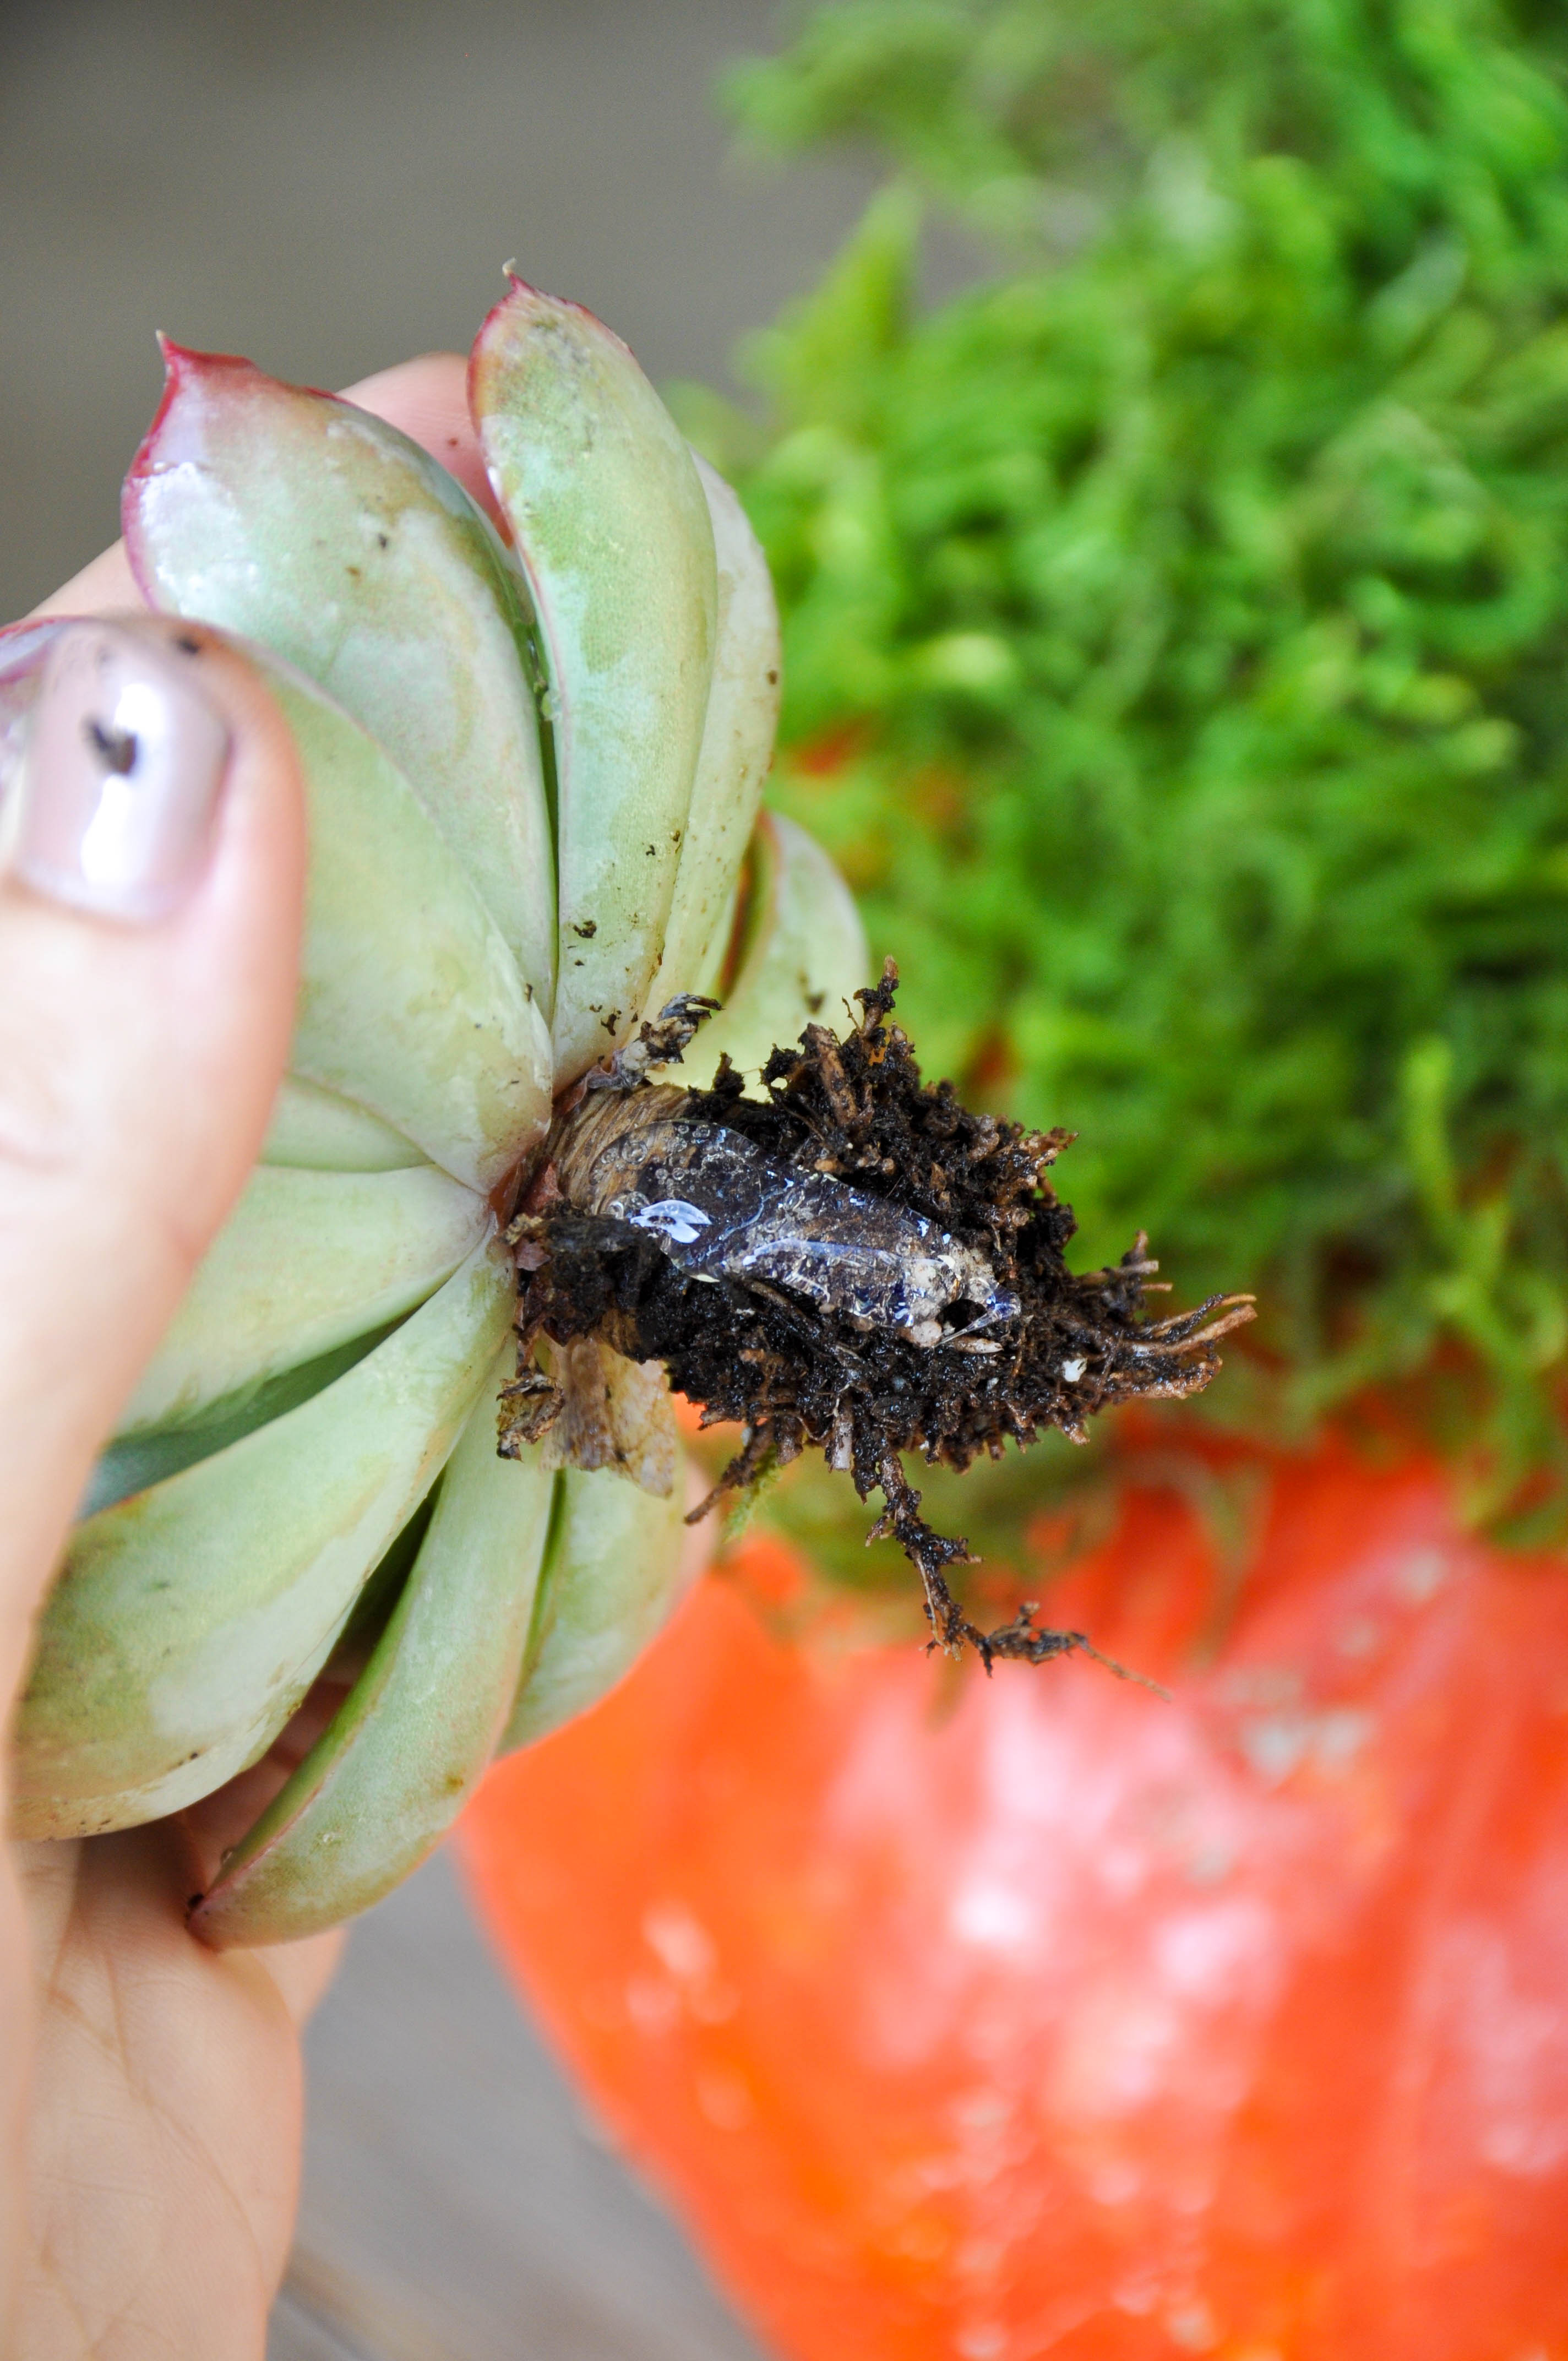
You can remove the soil from the base of the succulent
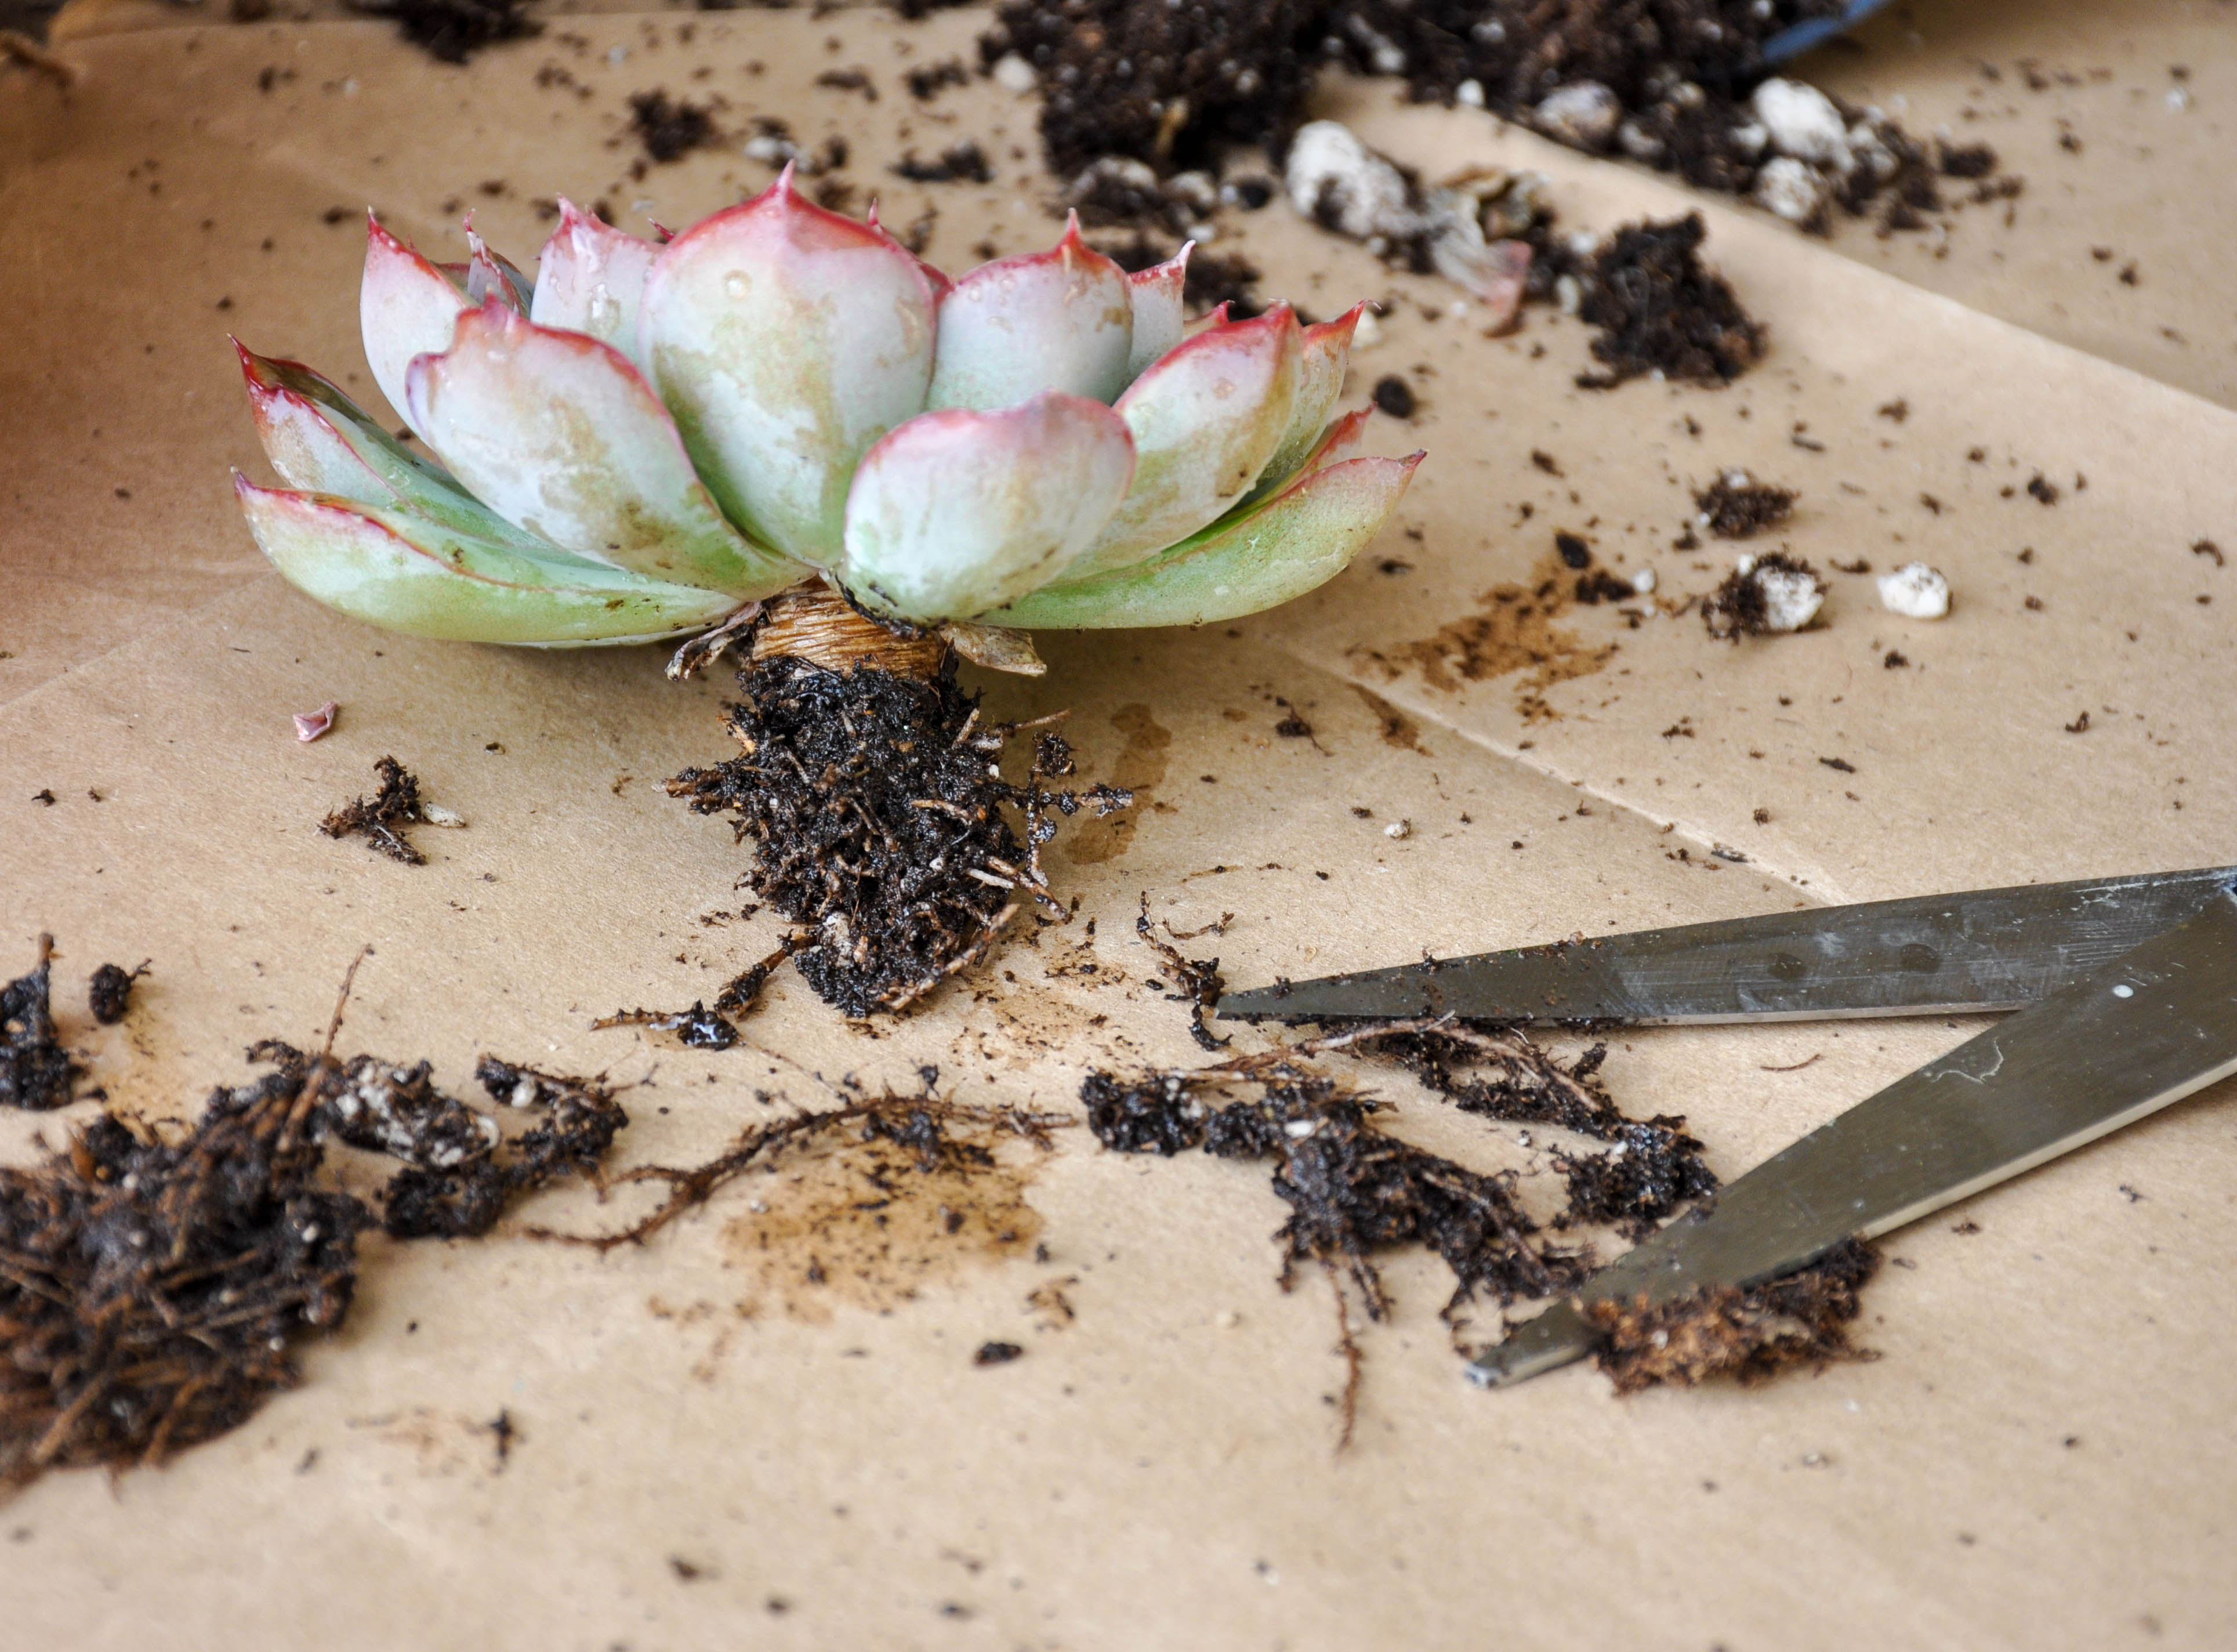
And cut away most of the side roots and soil. You can even trim the stem down a bit if needed too
Add hot glue to the side of the stem
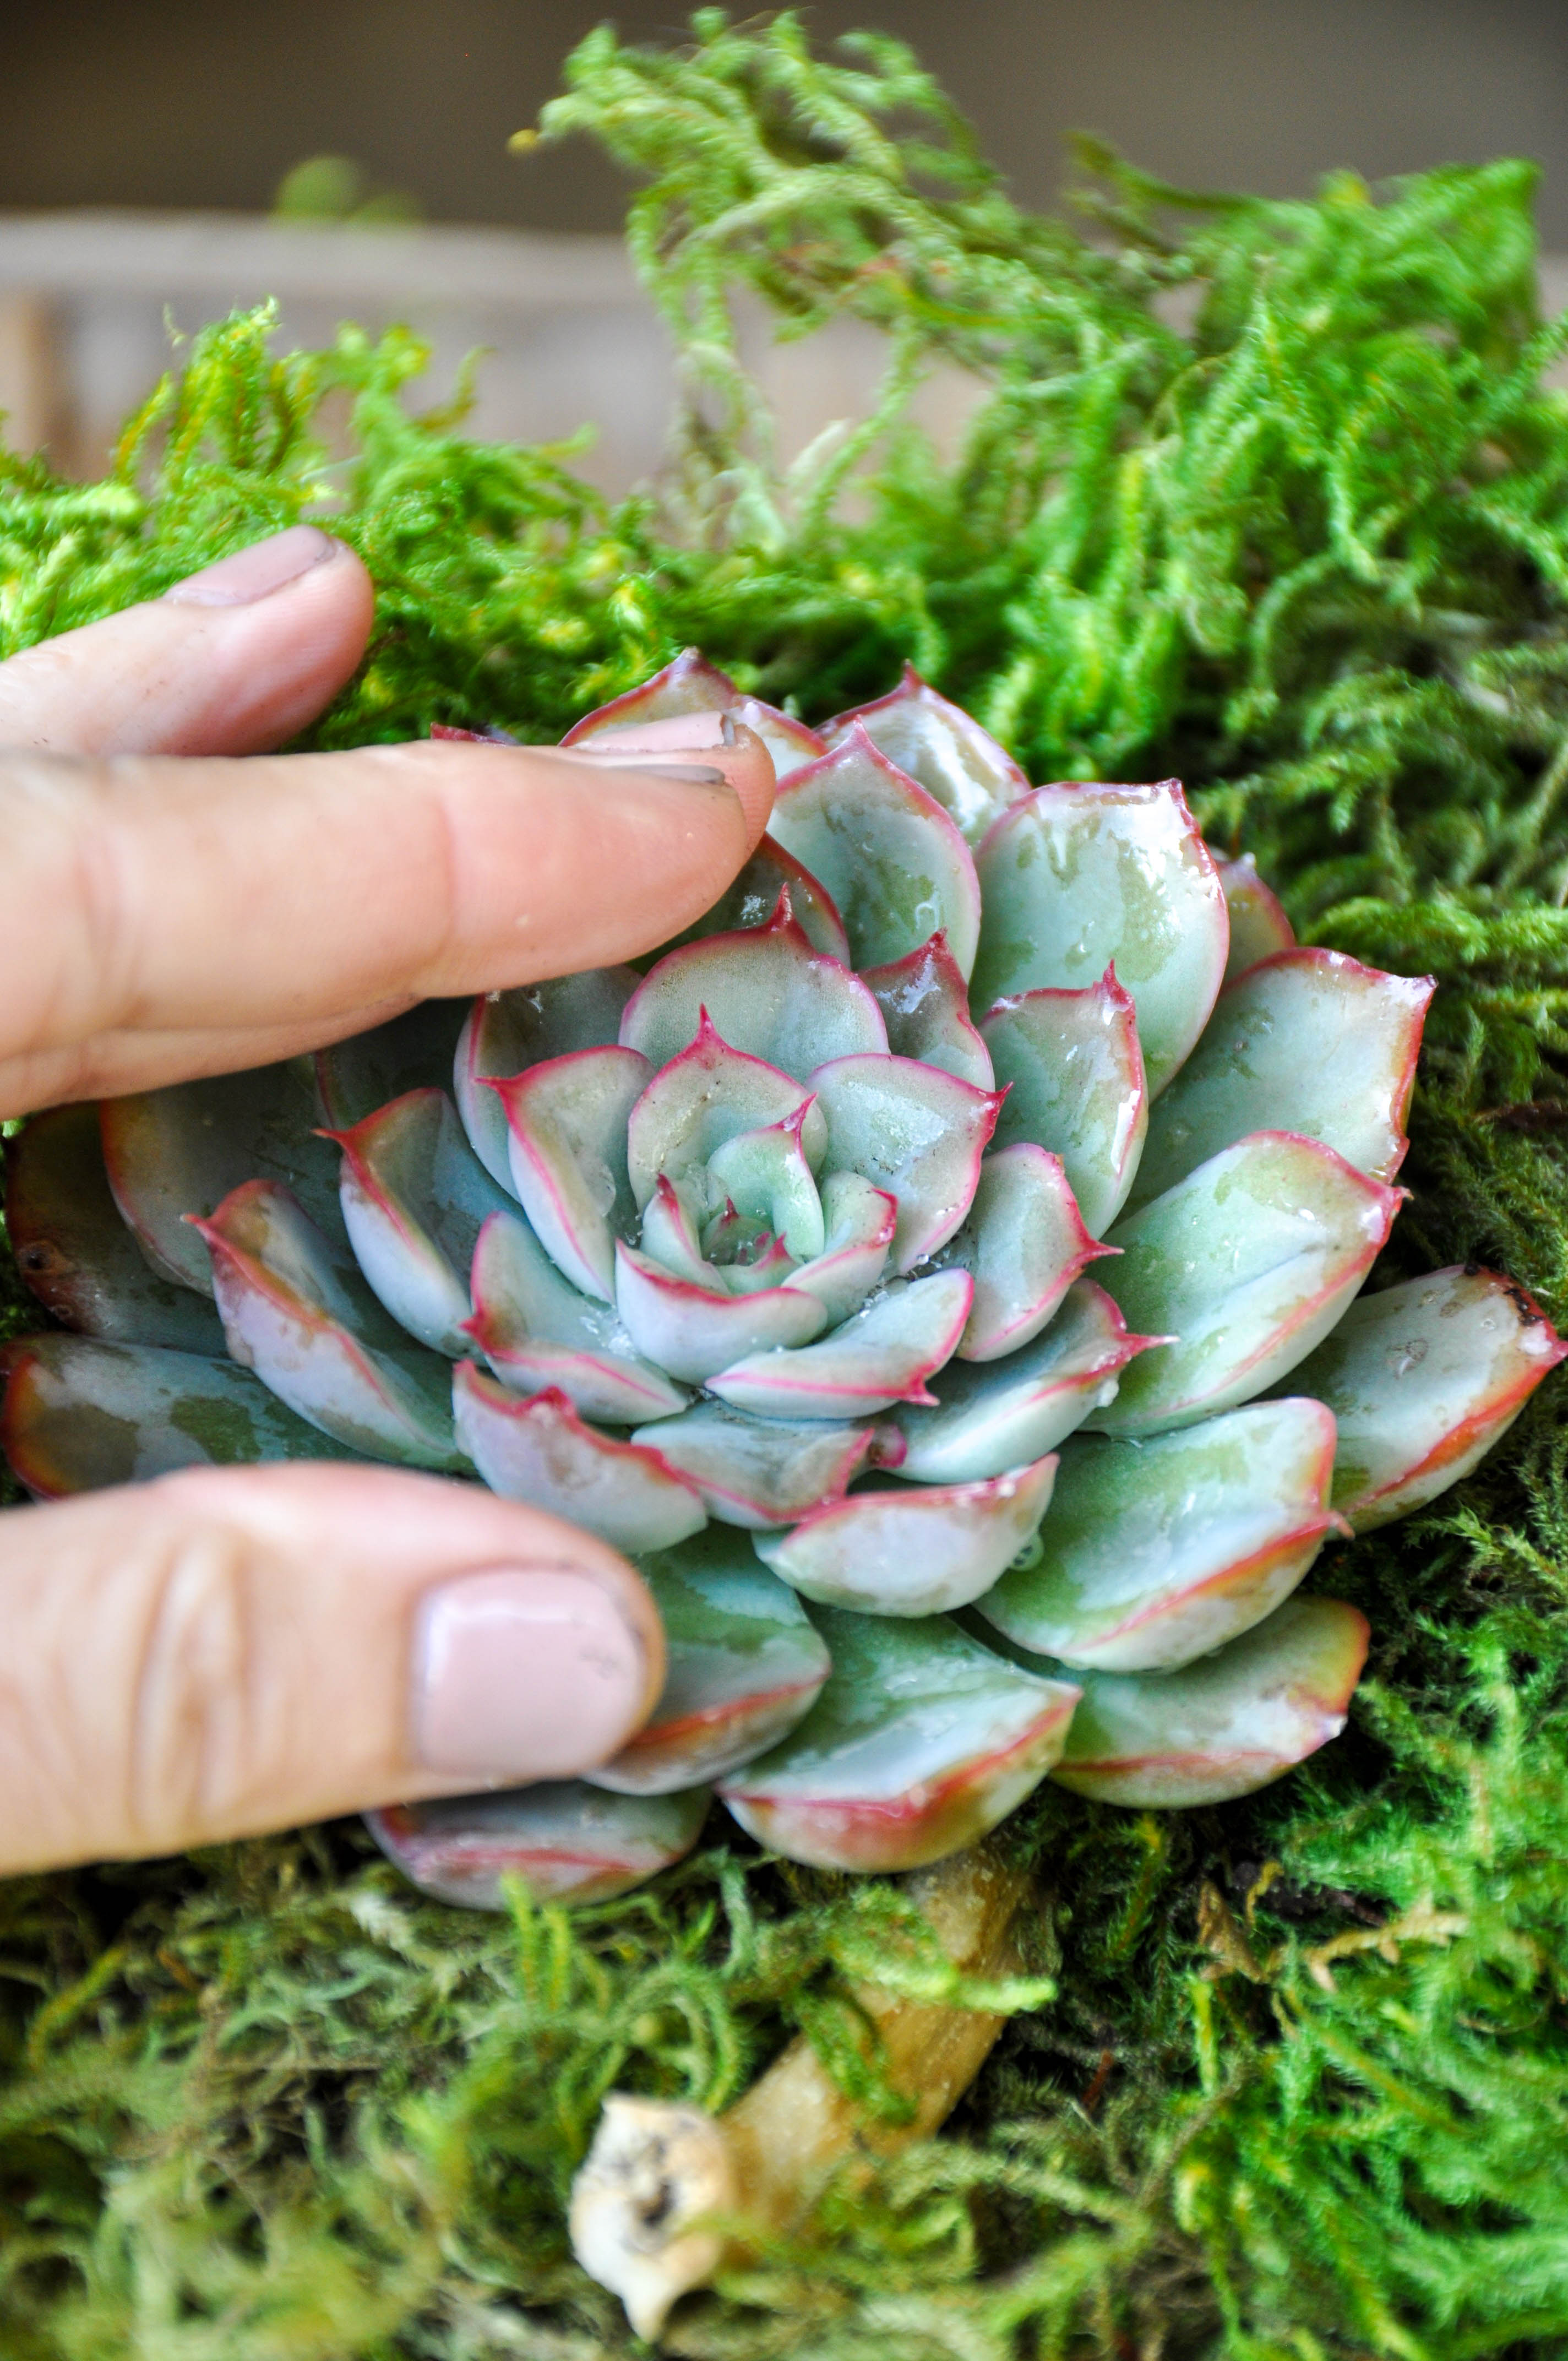
Push the glued stem down into the position you would like the succulent to stay. Hold for a few seconds so the plant stays put until the glue dries
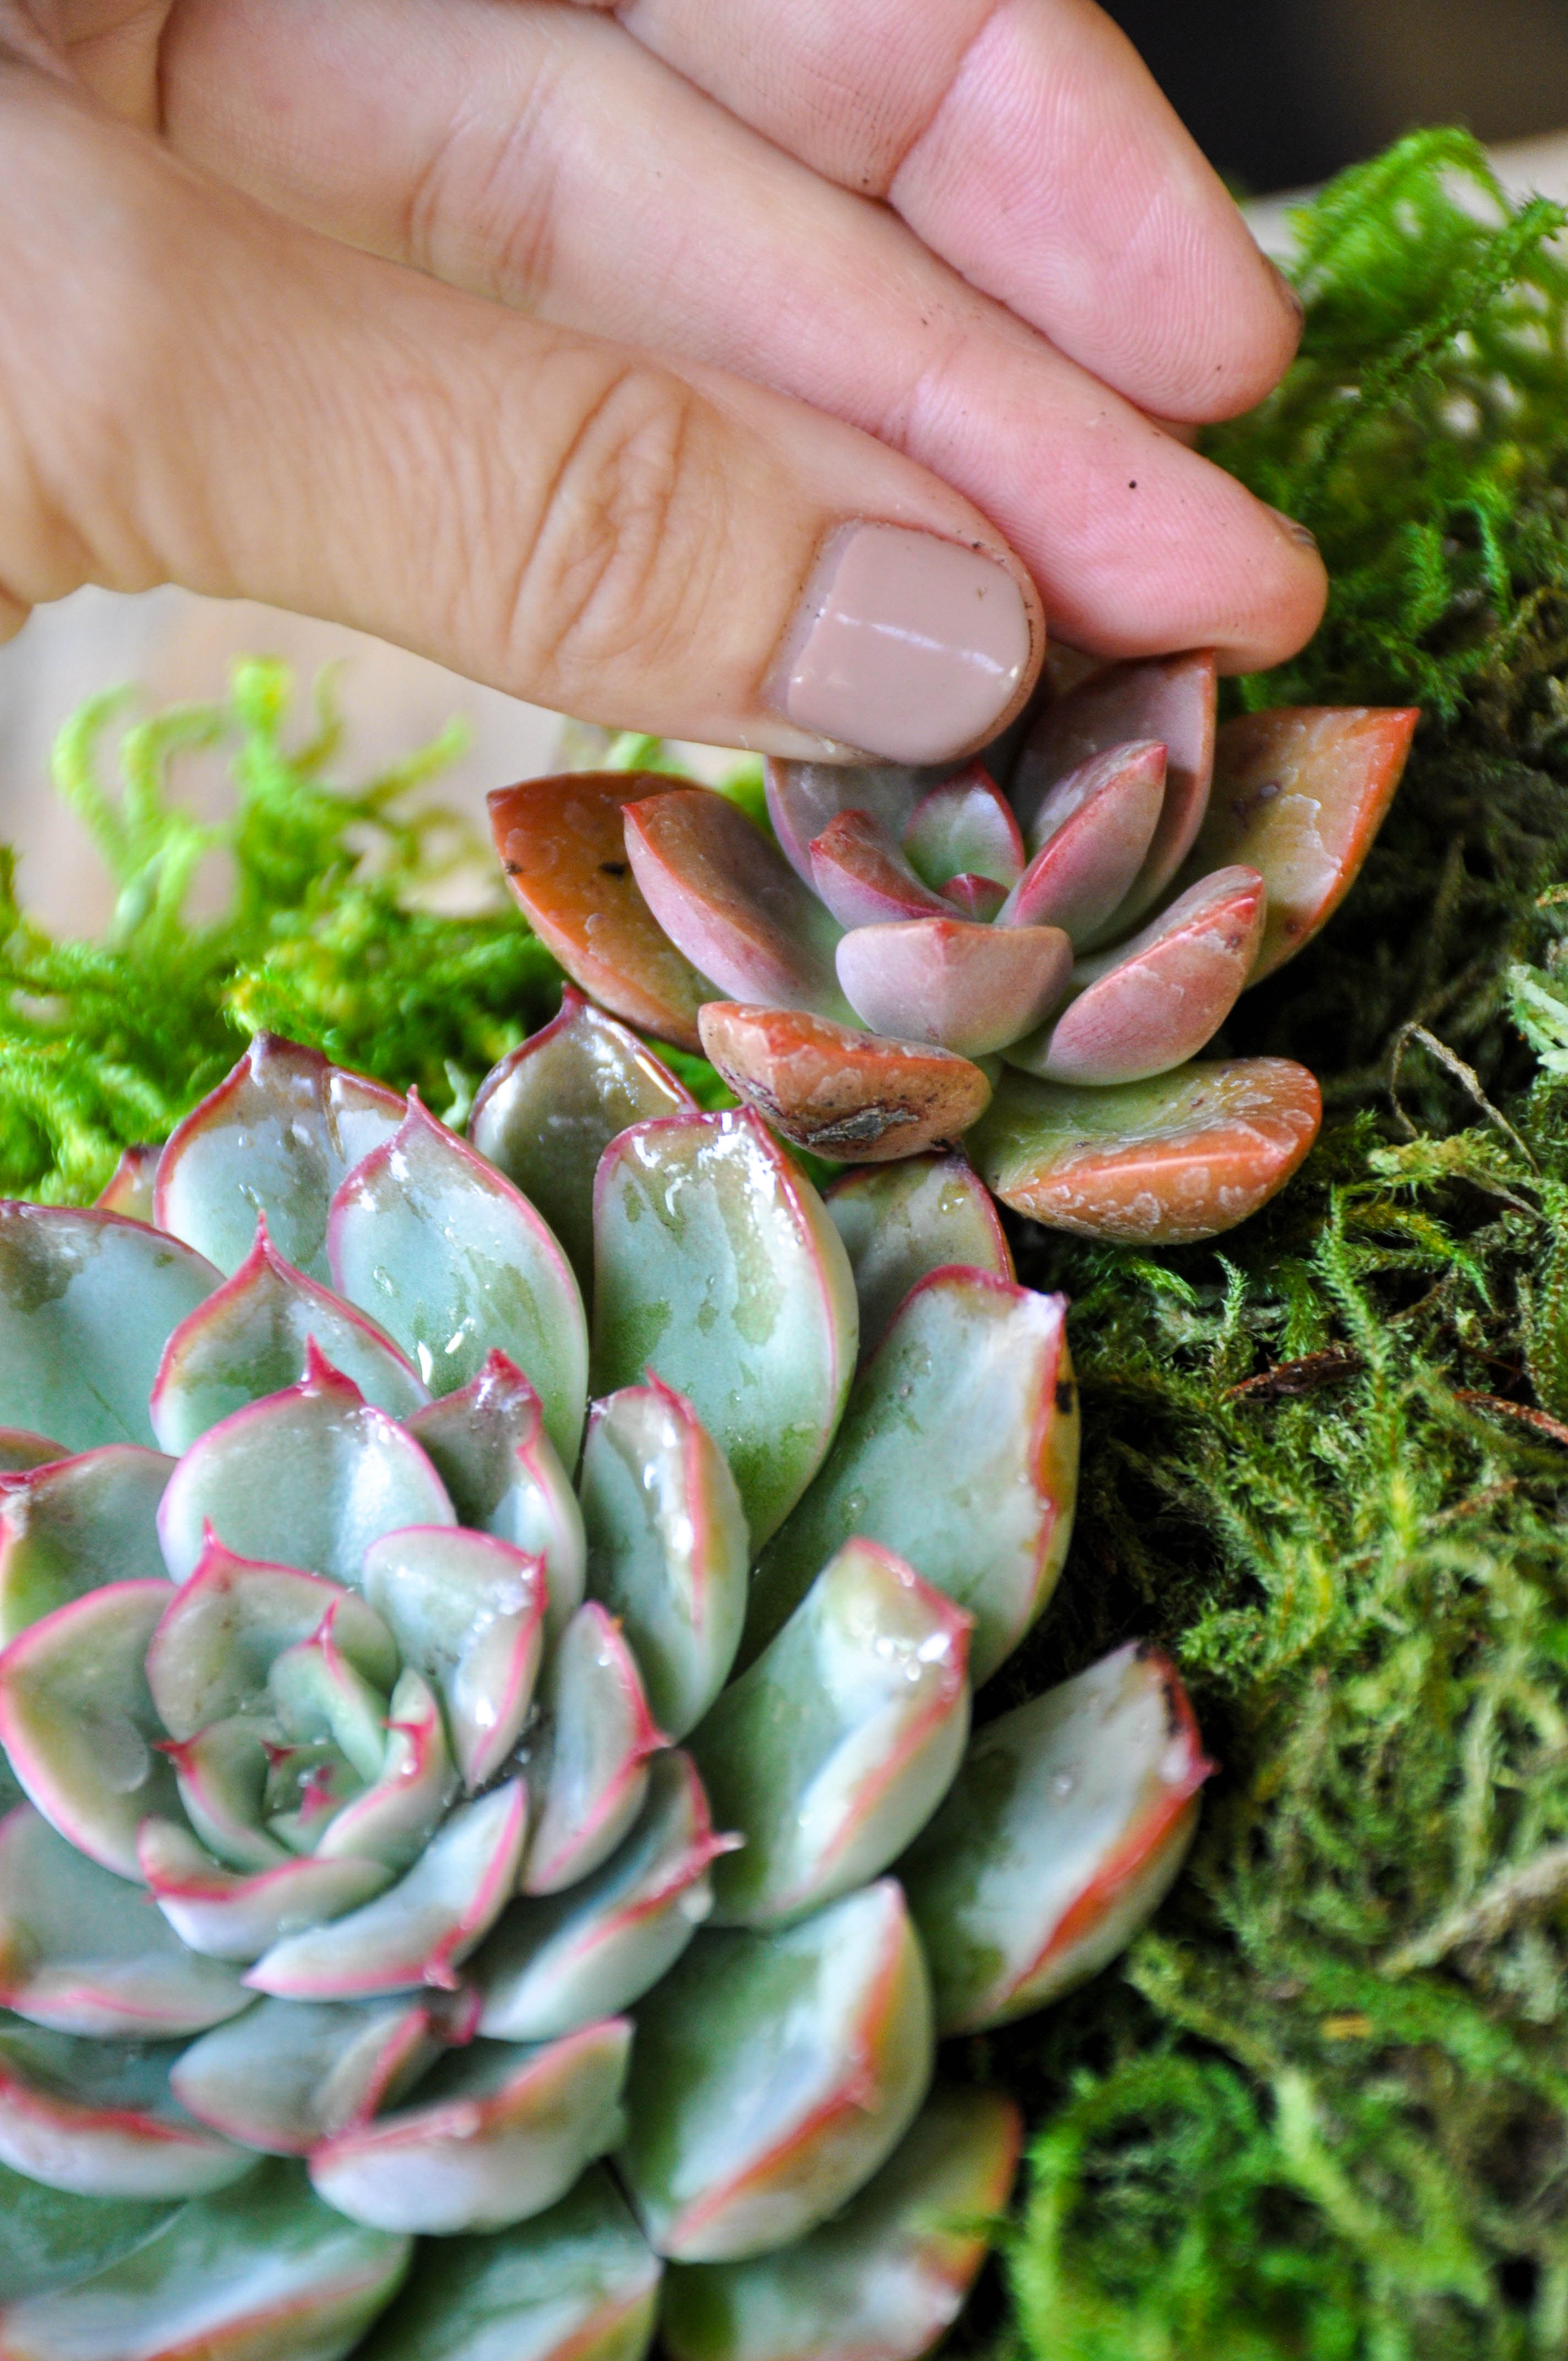
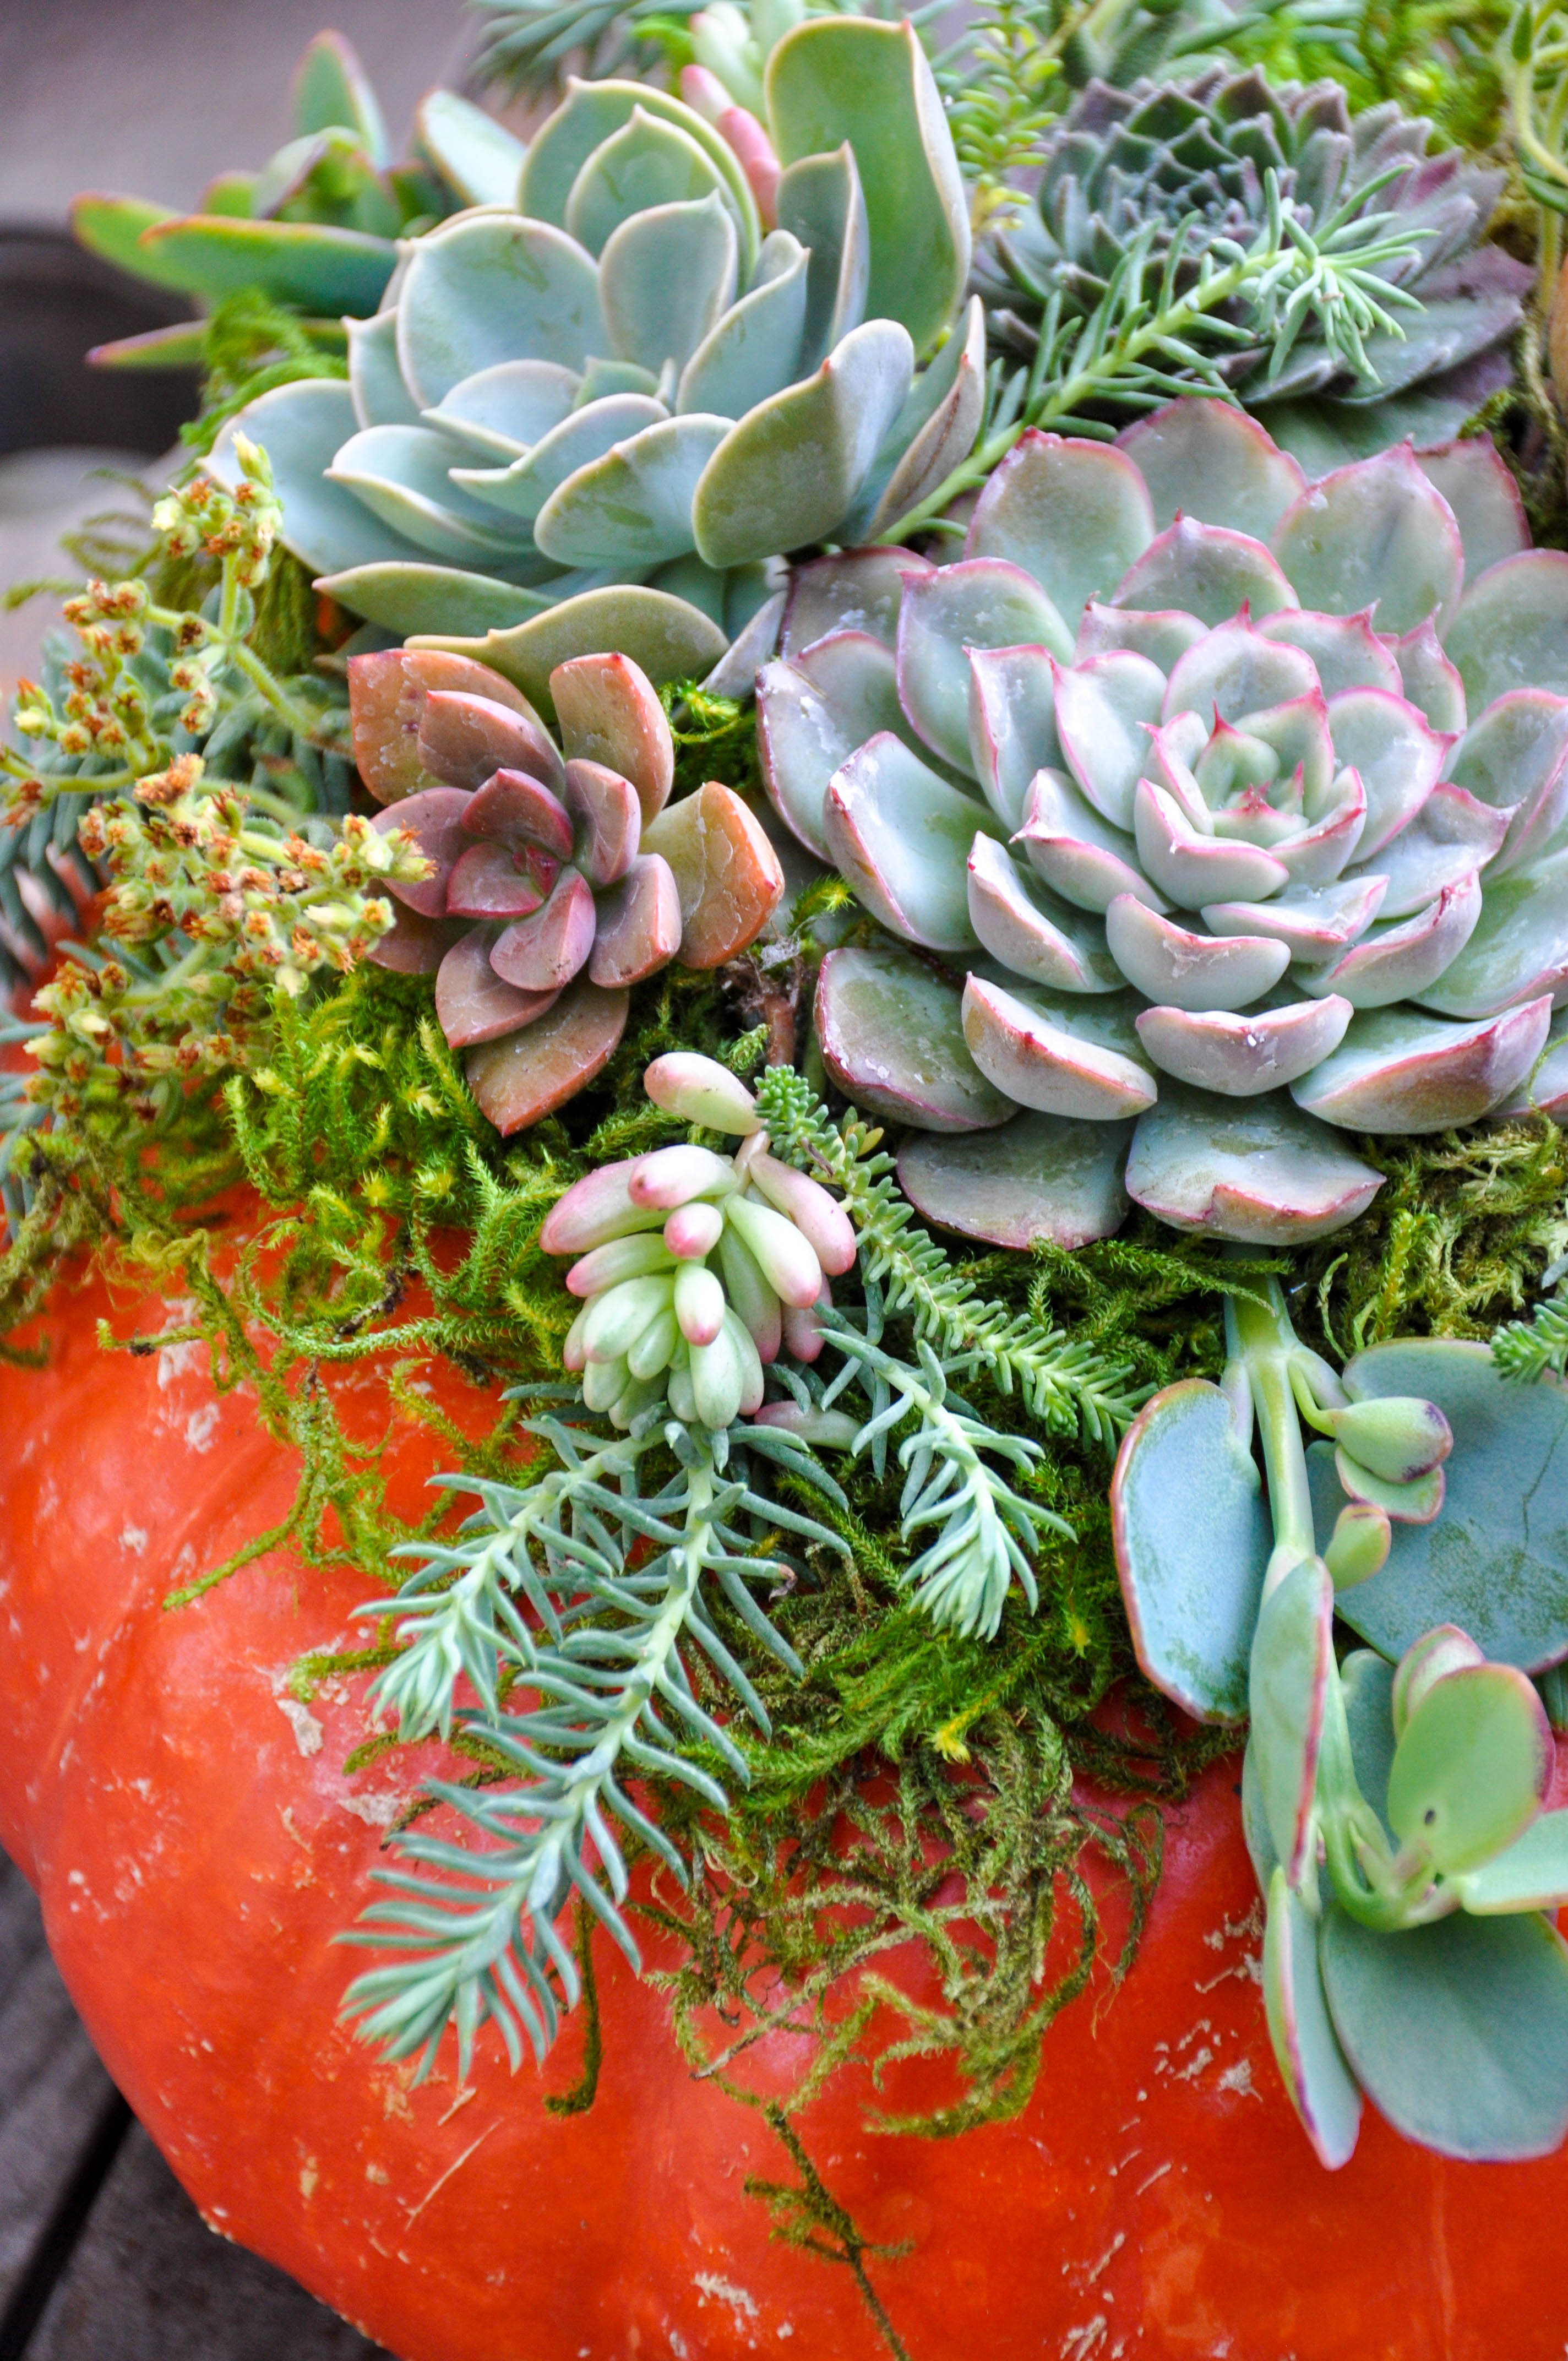
Start plugging in more succulents around the top
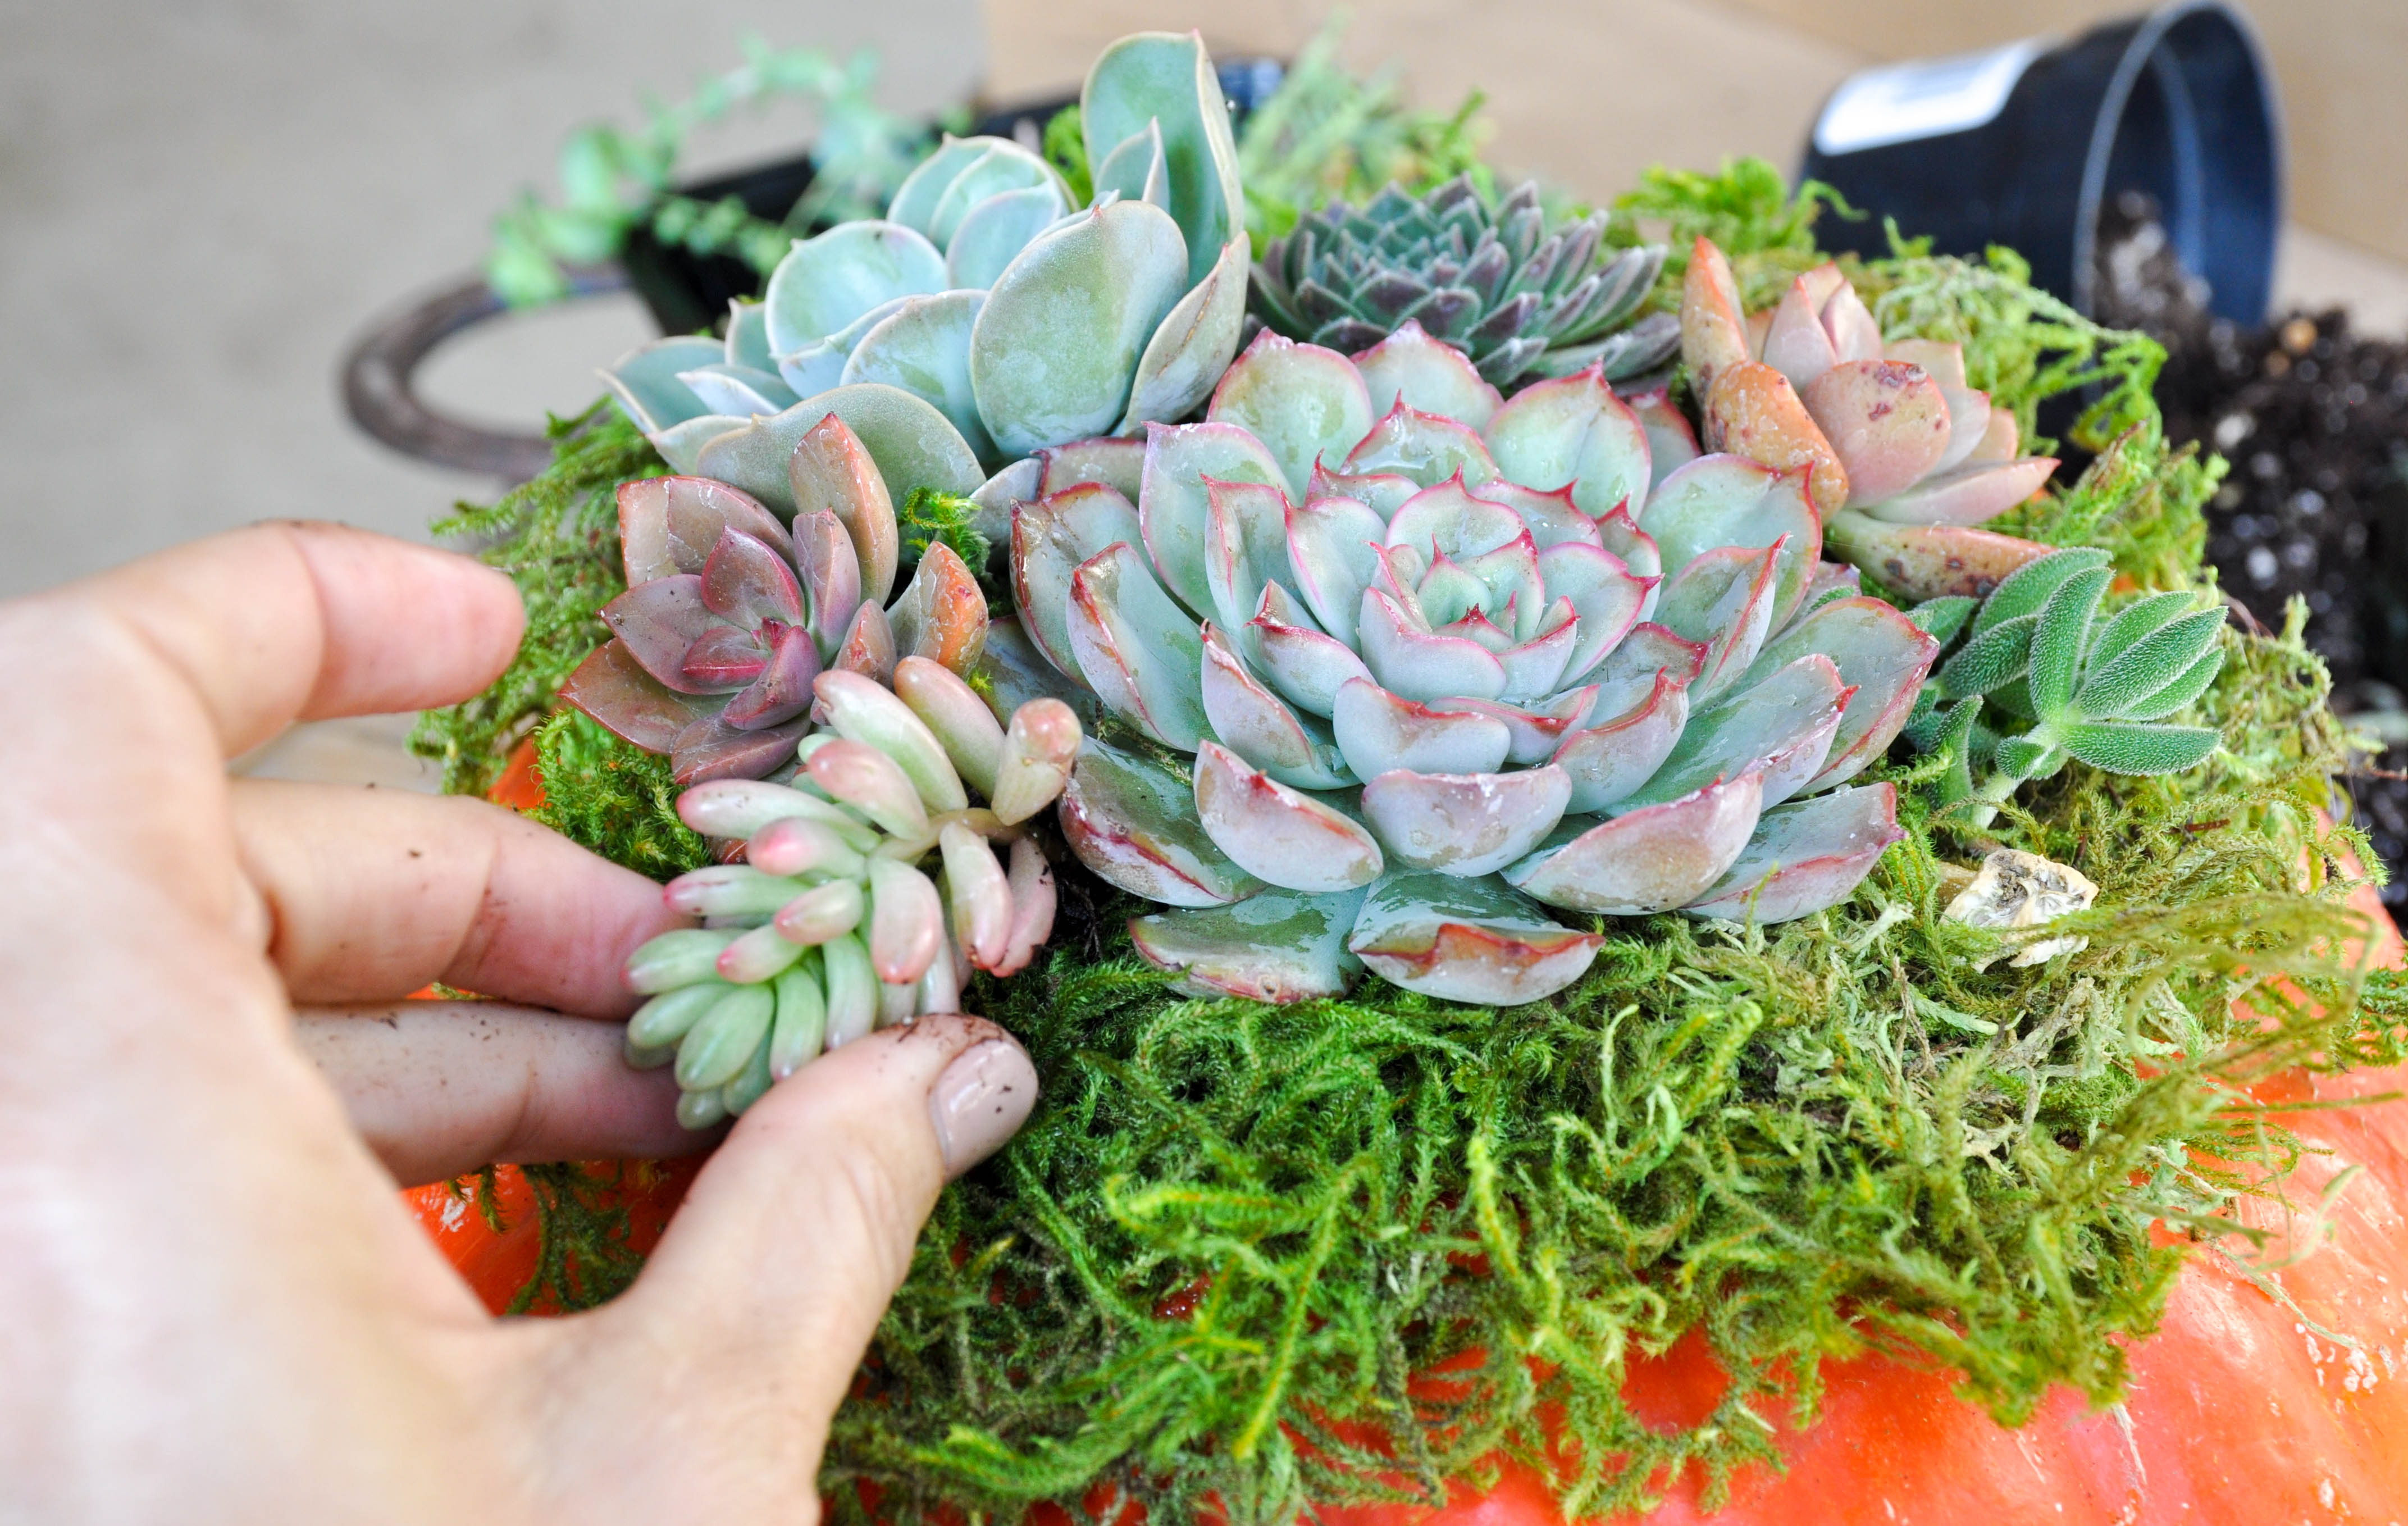
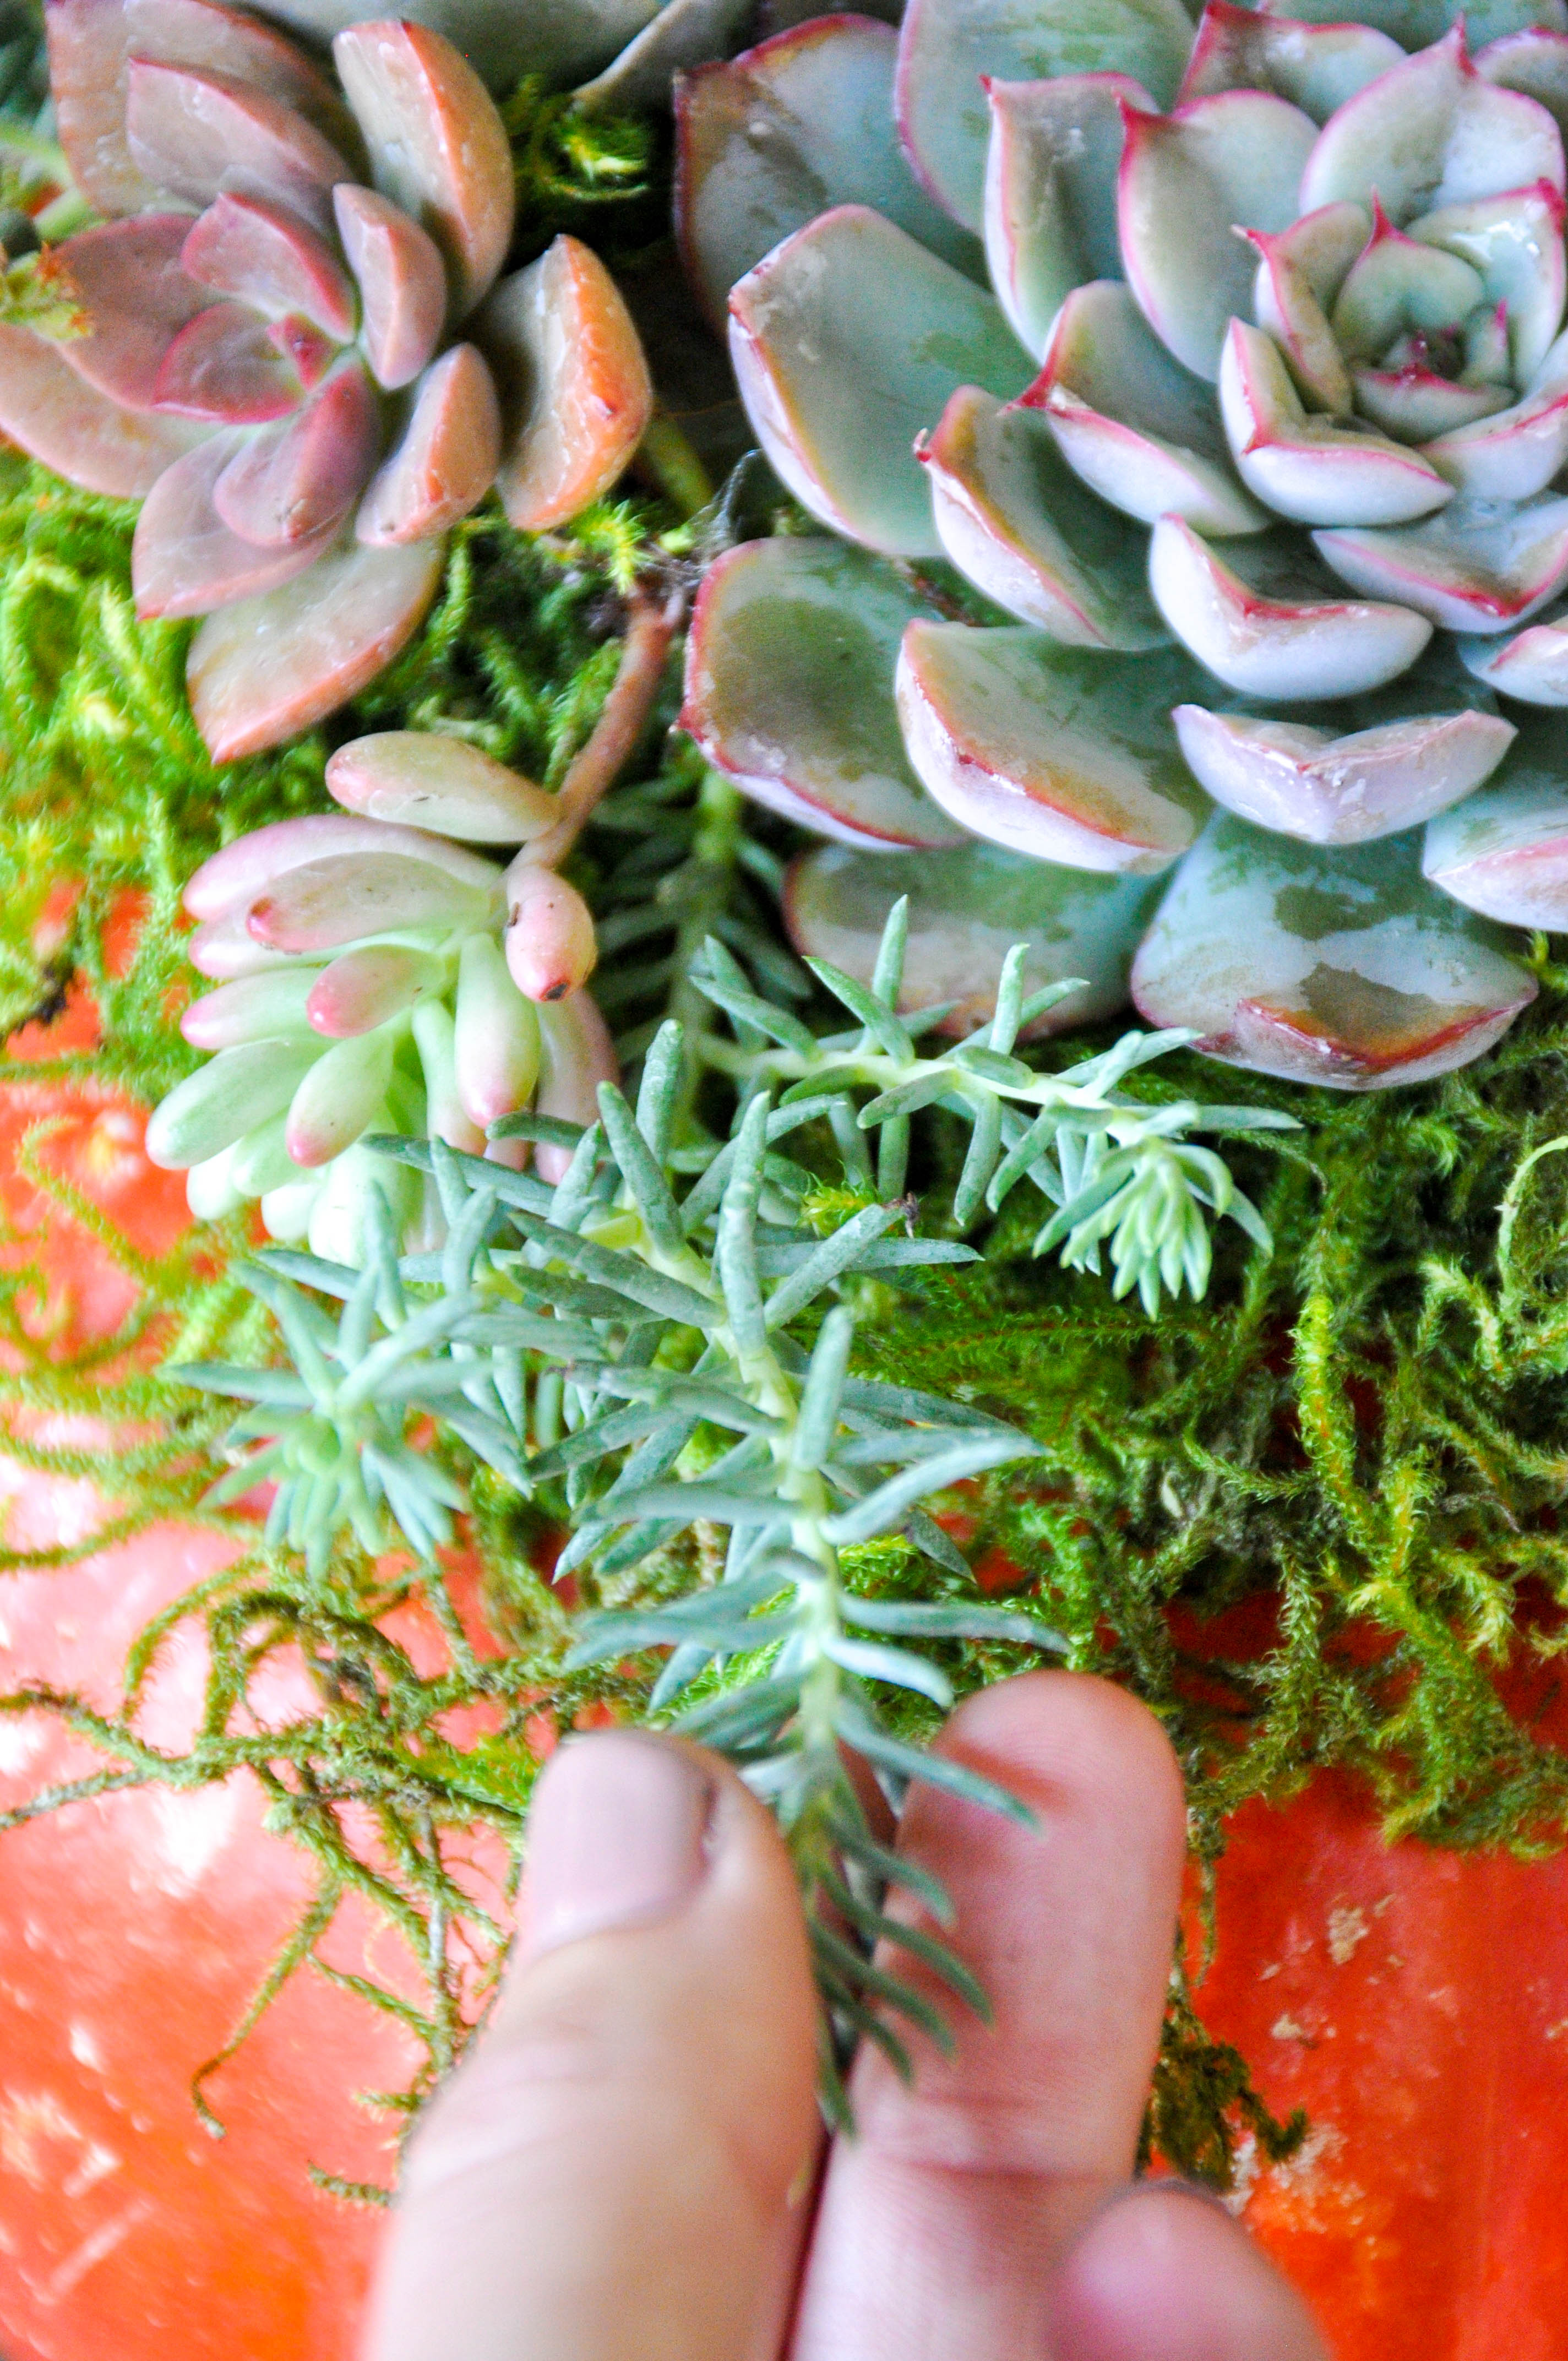
After the pumpkin top is filled with the larger plants, start filling in with the trailing type succulents
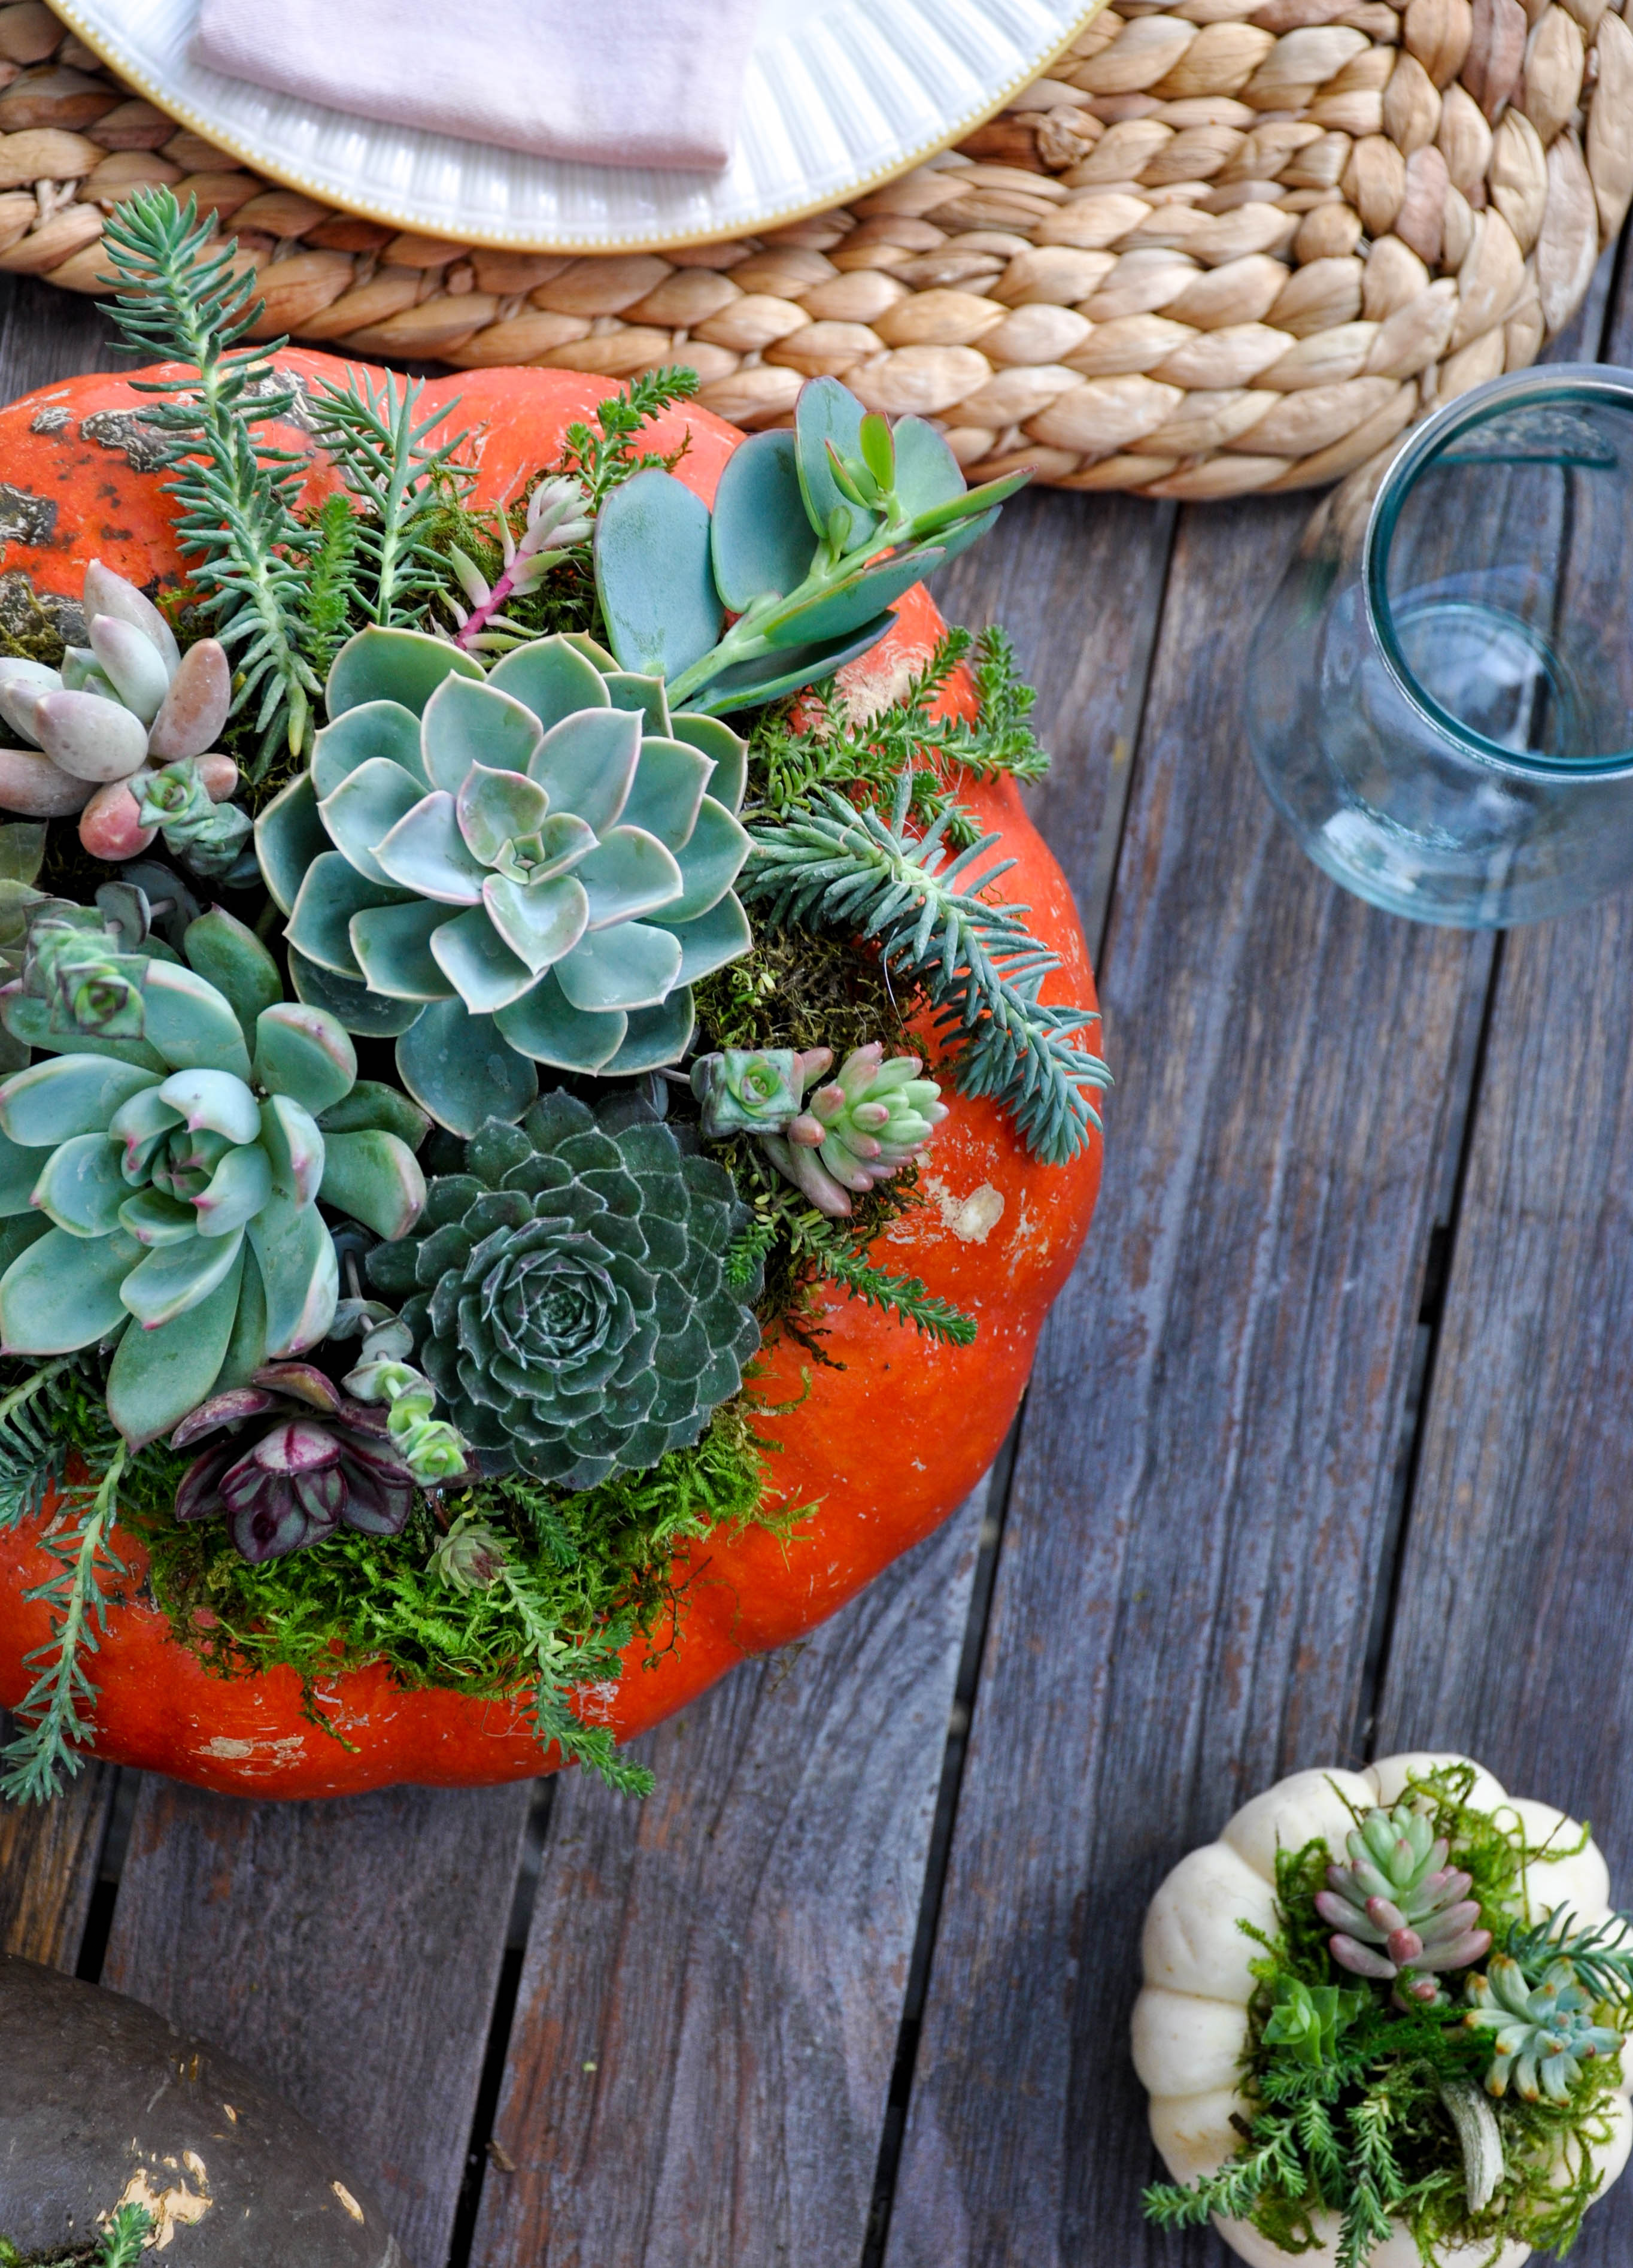
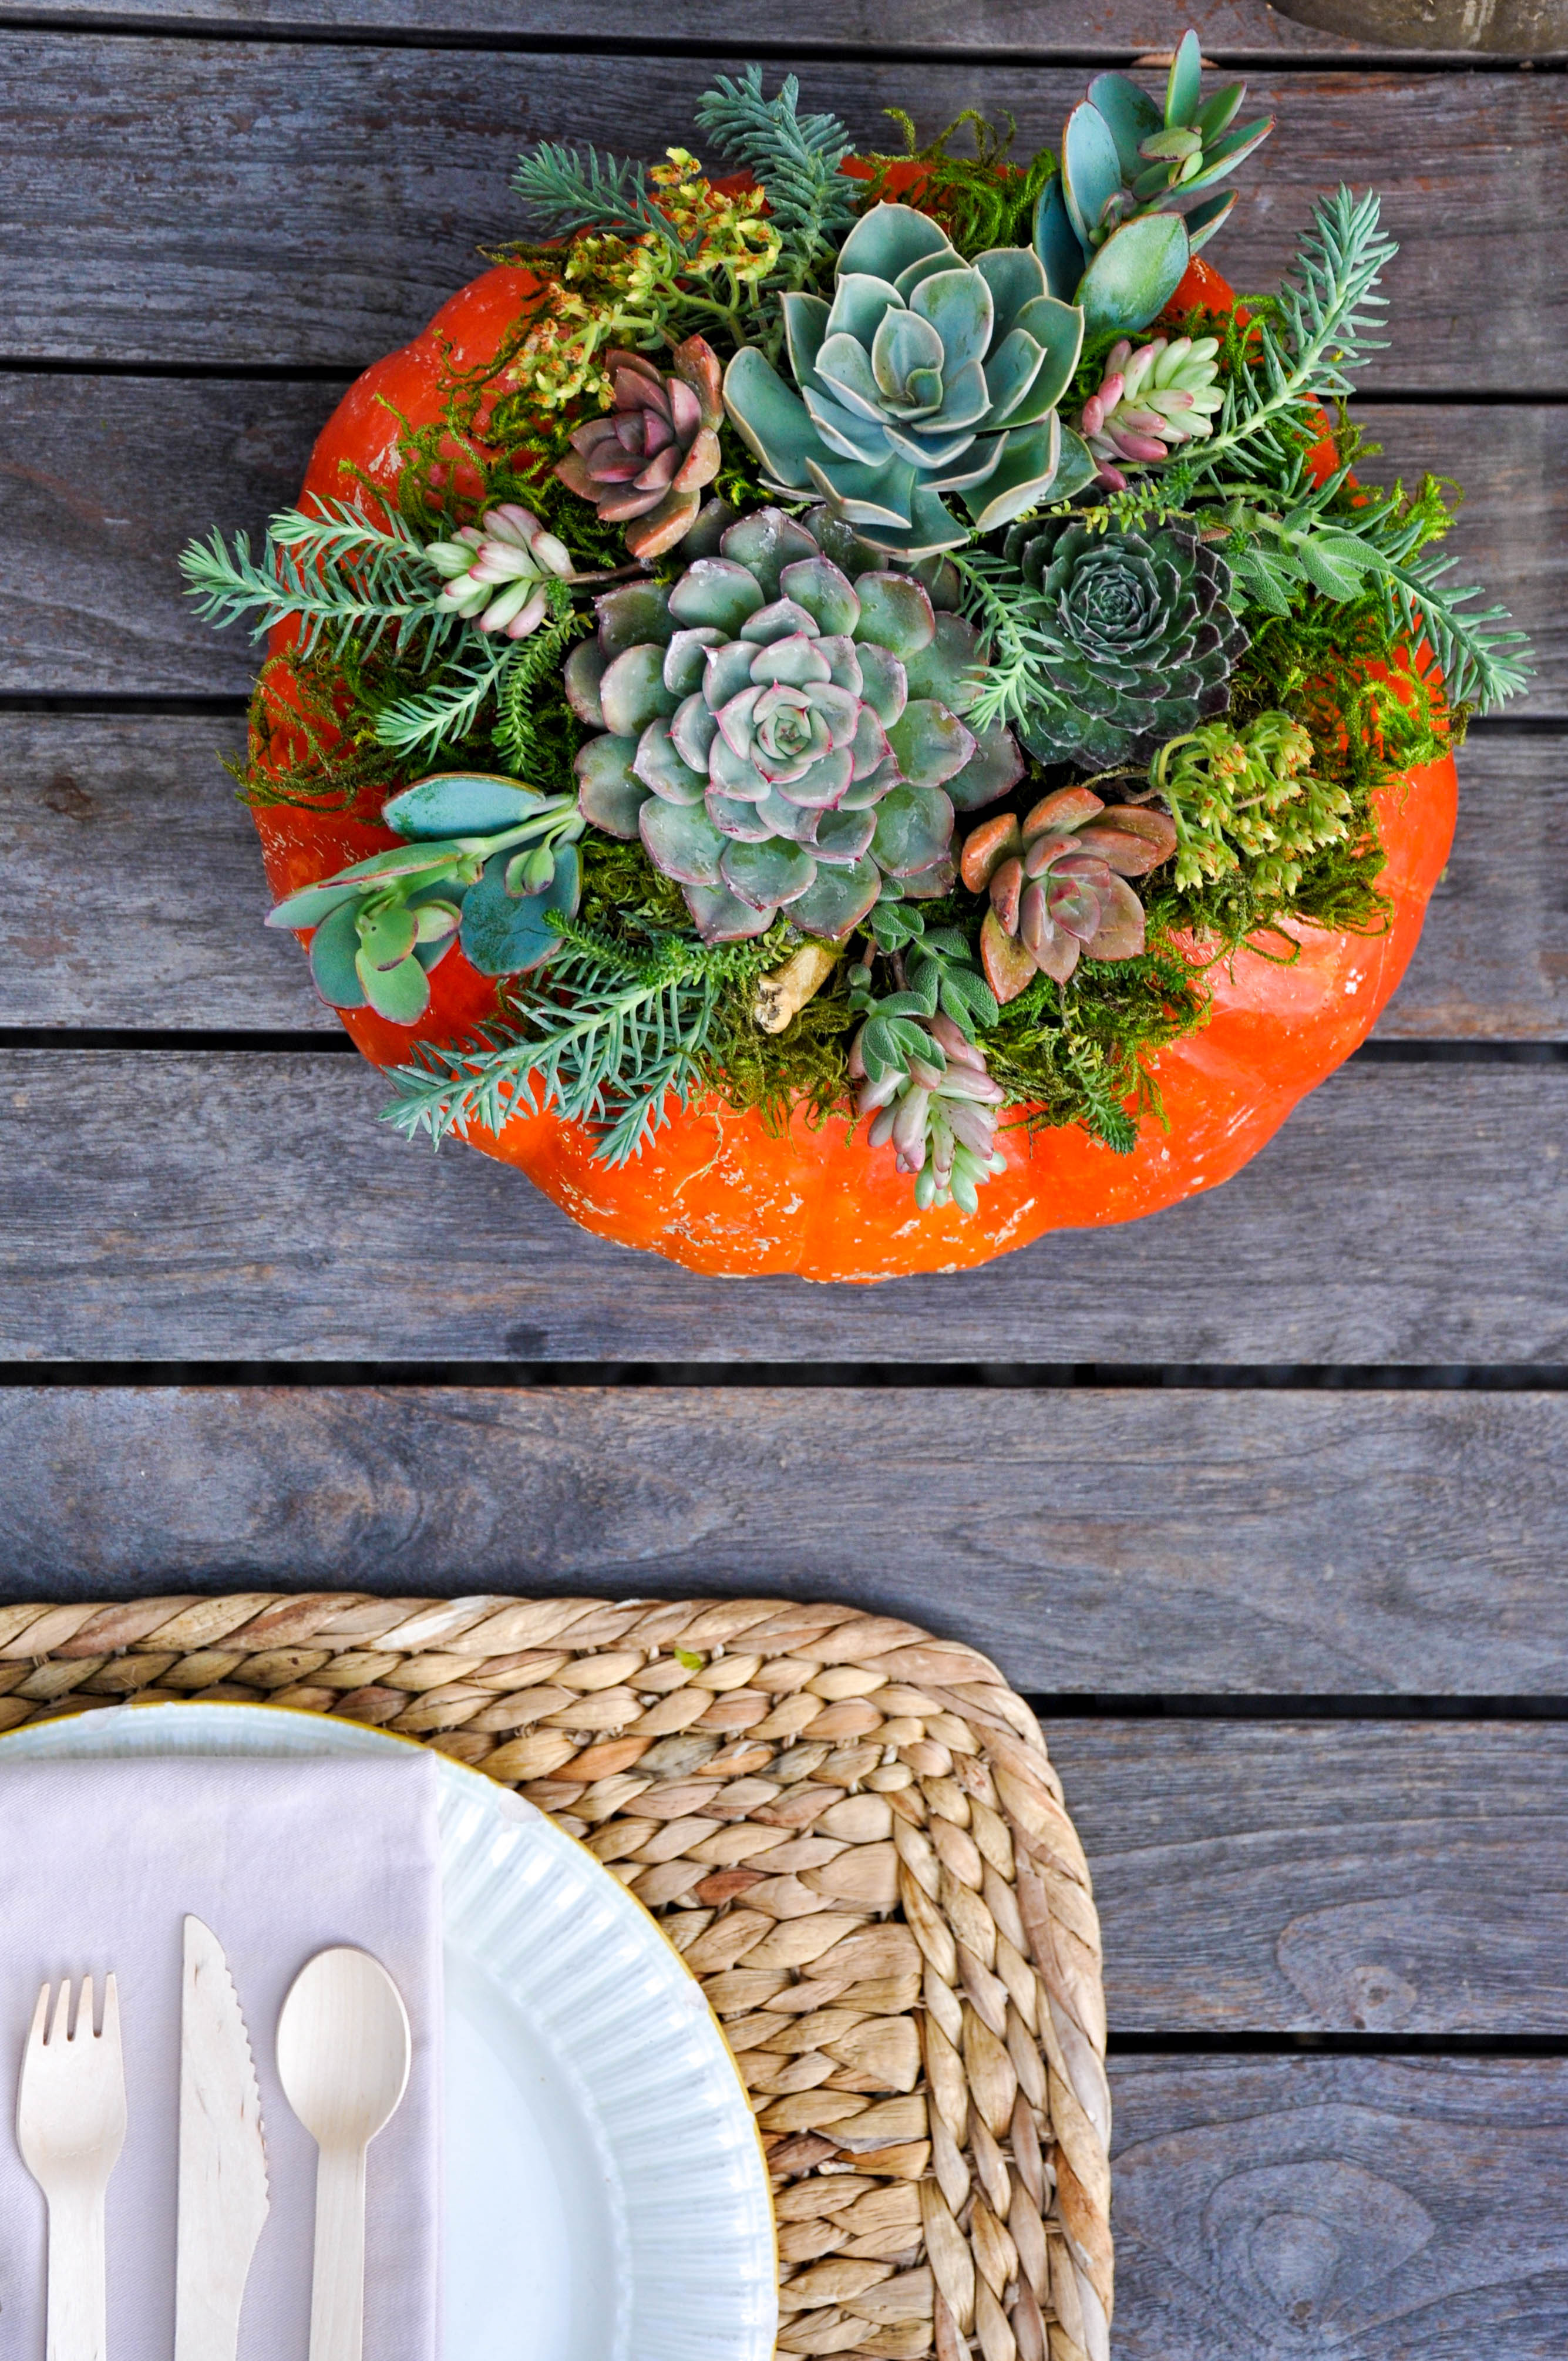
That’s it! You are done!
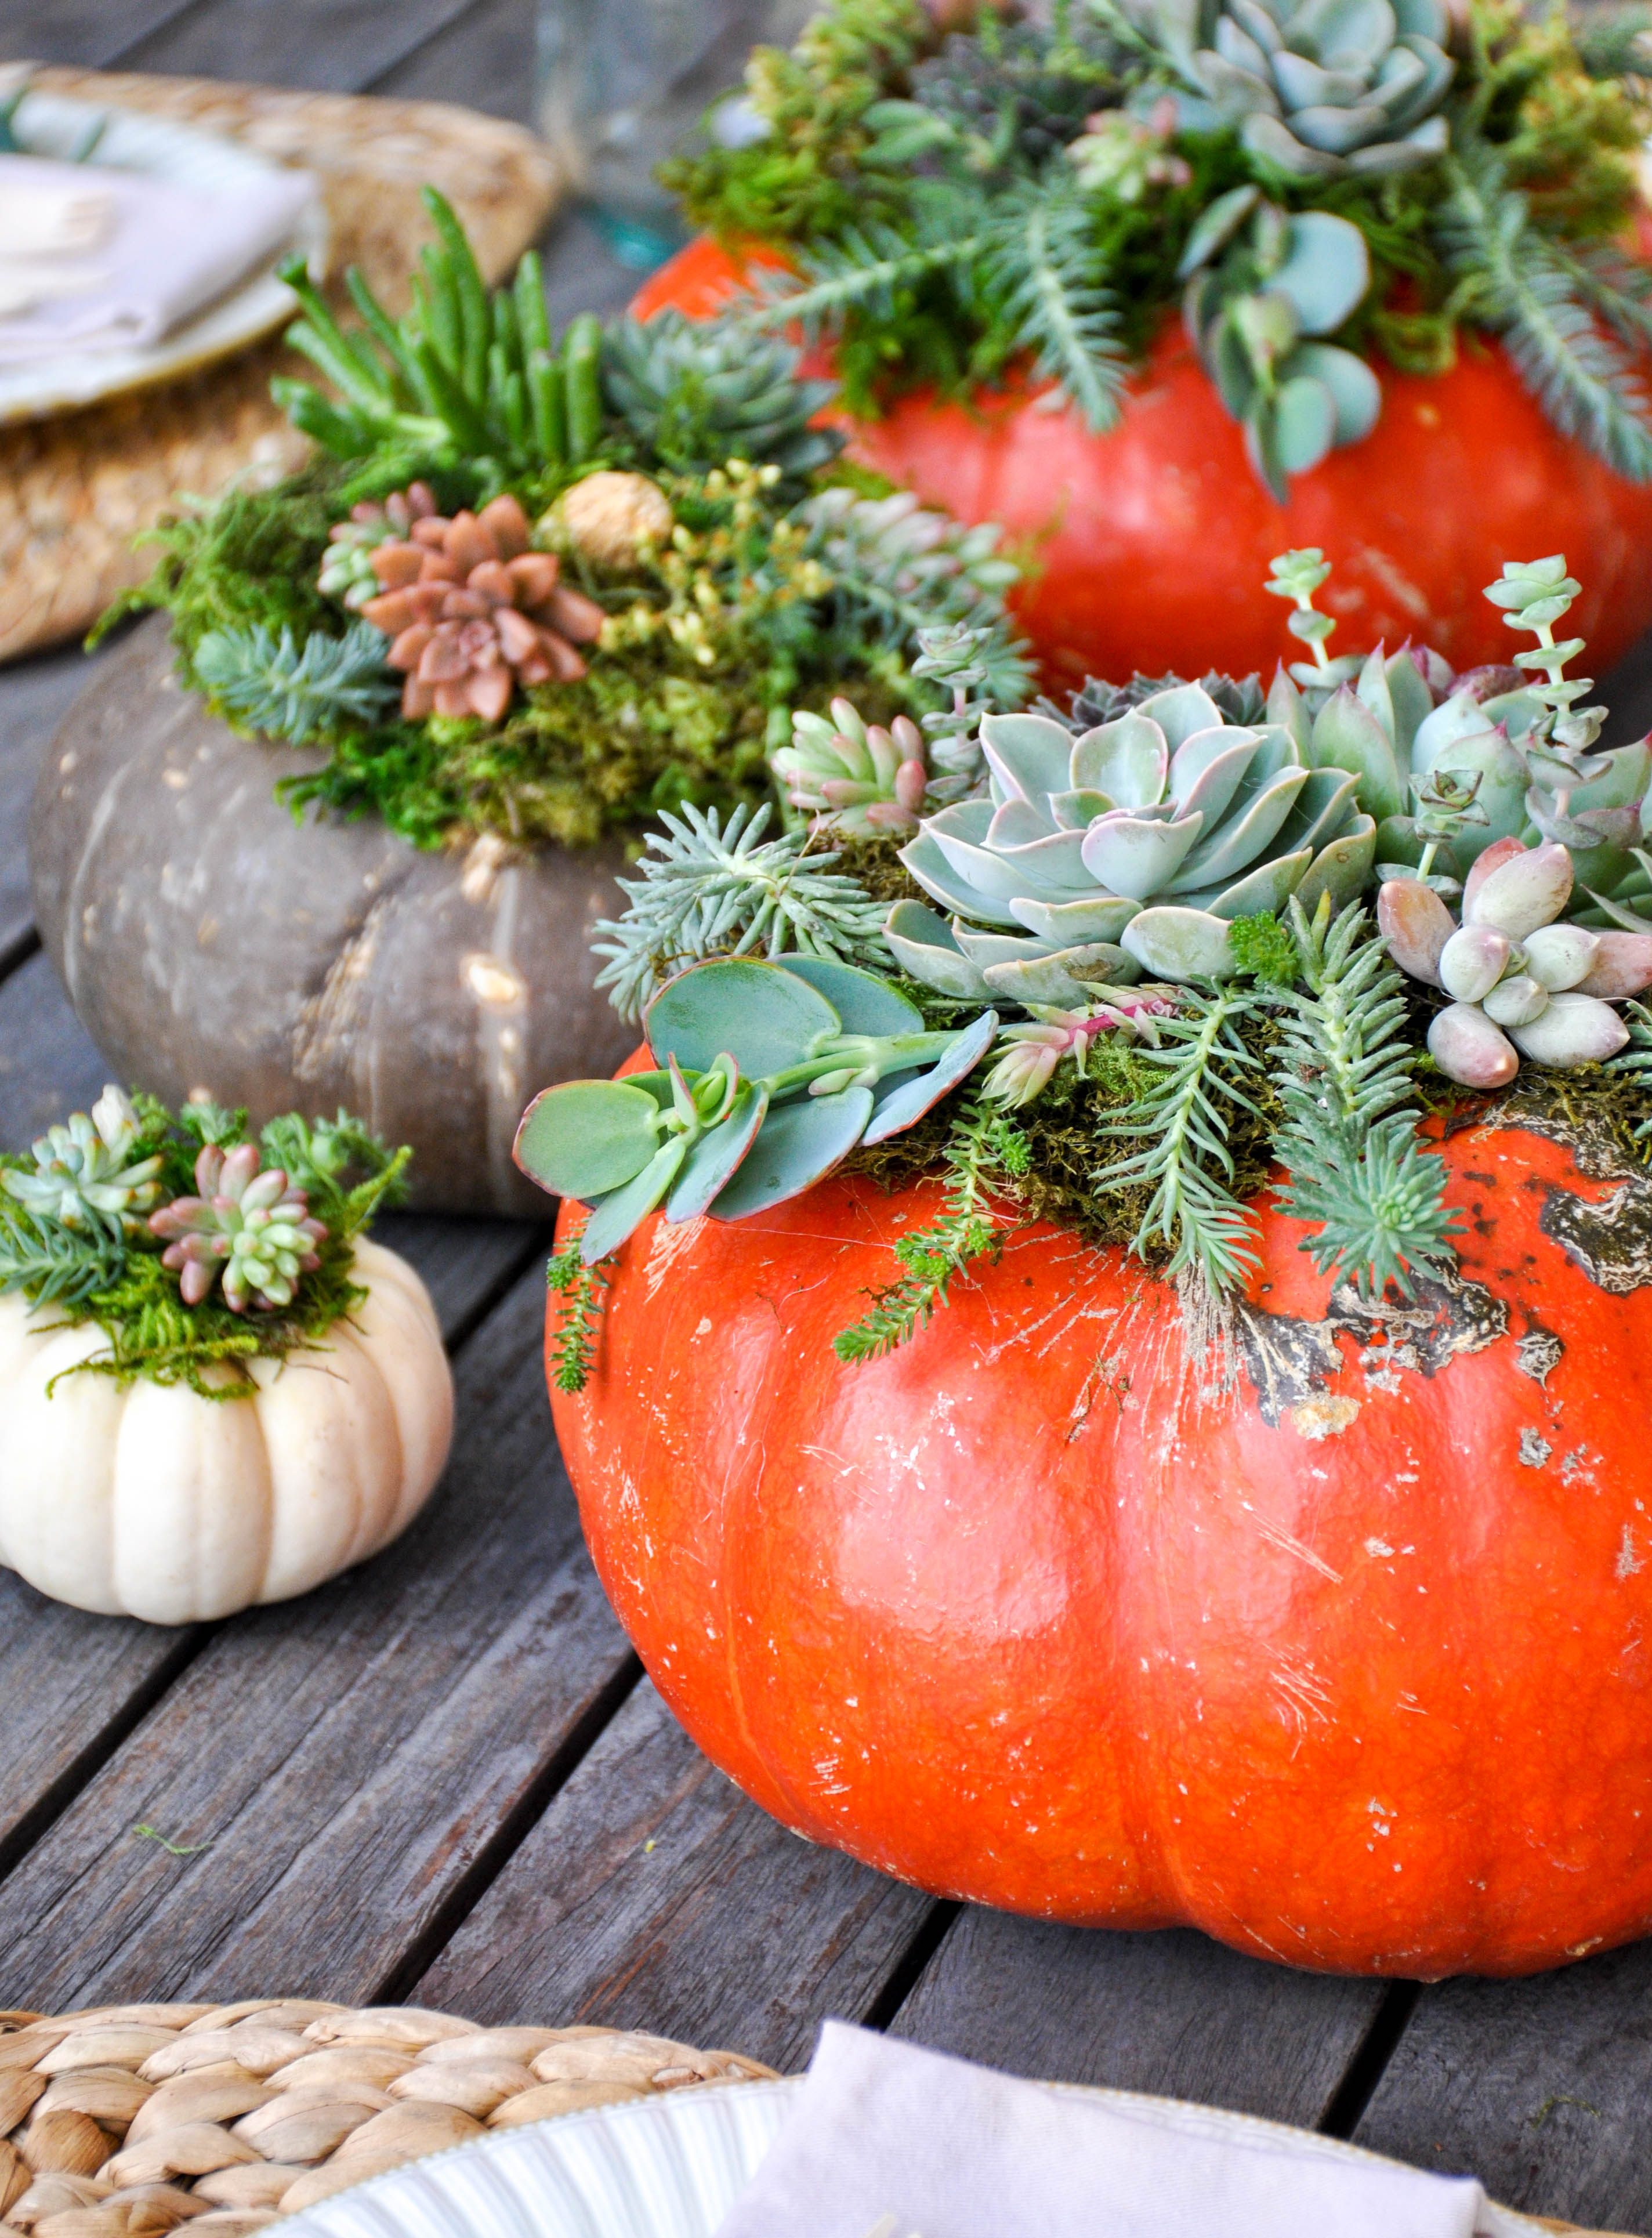
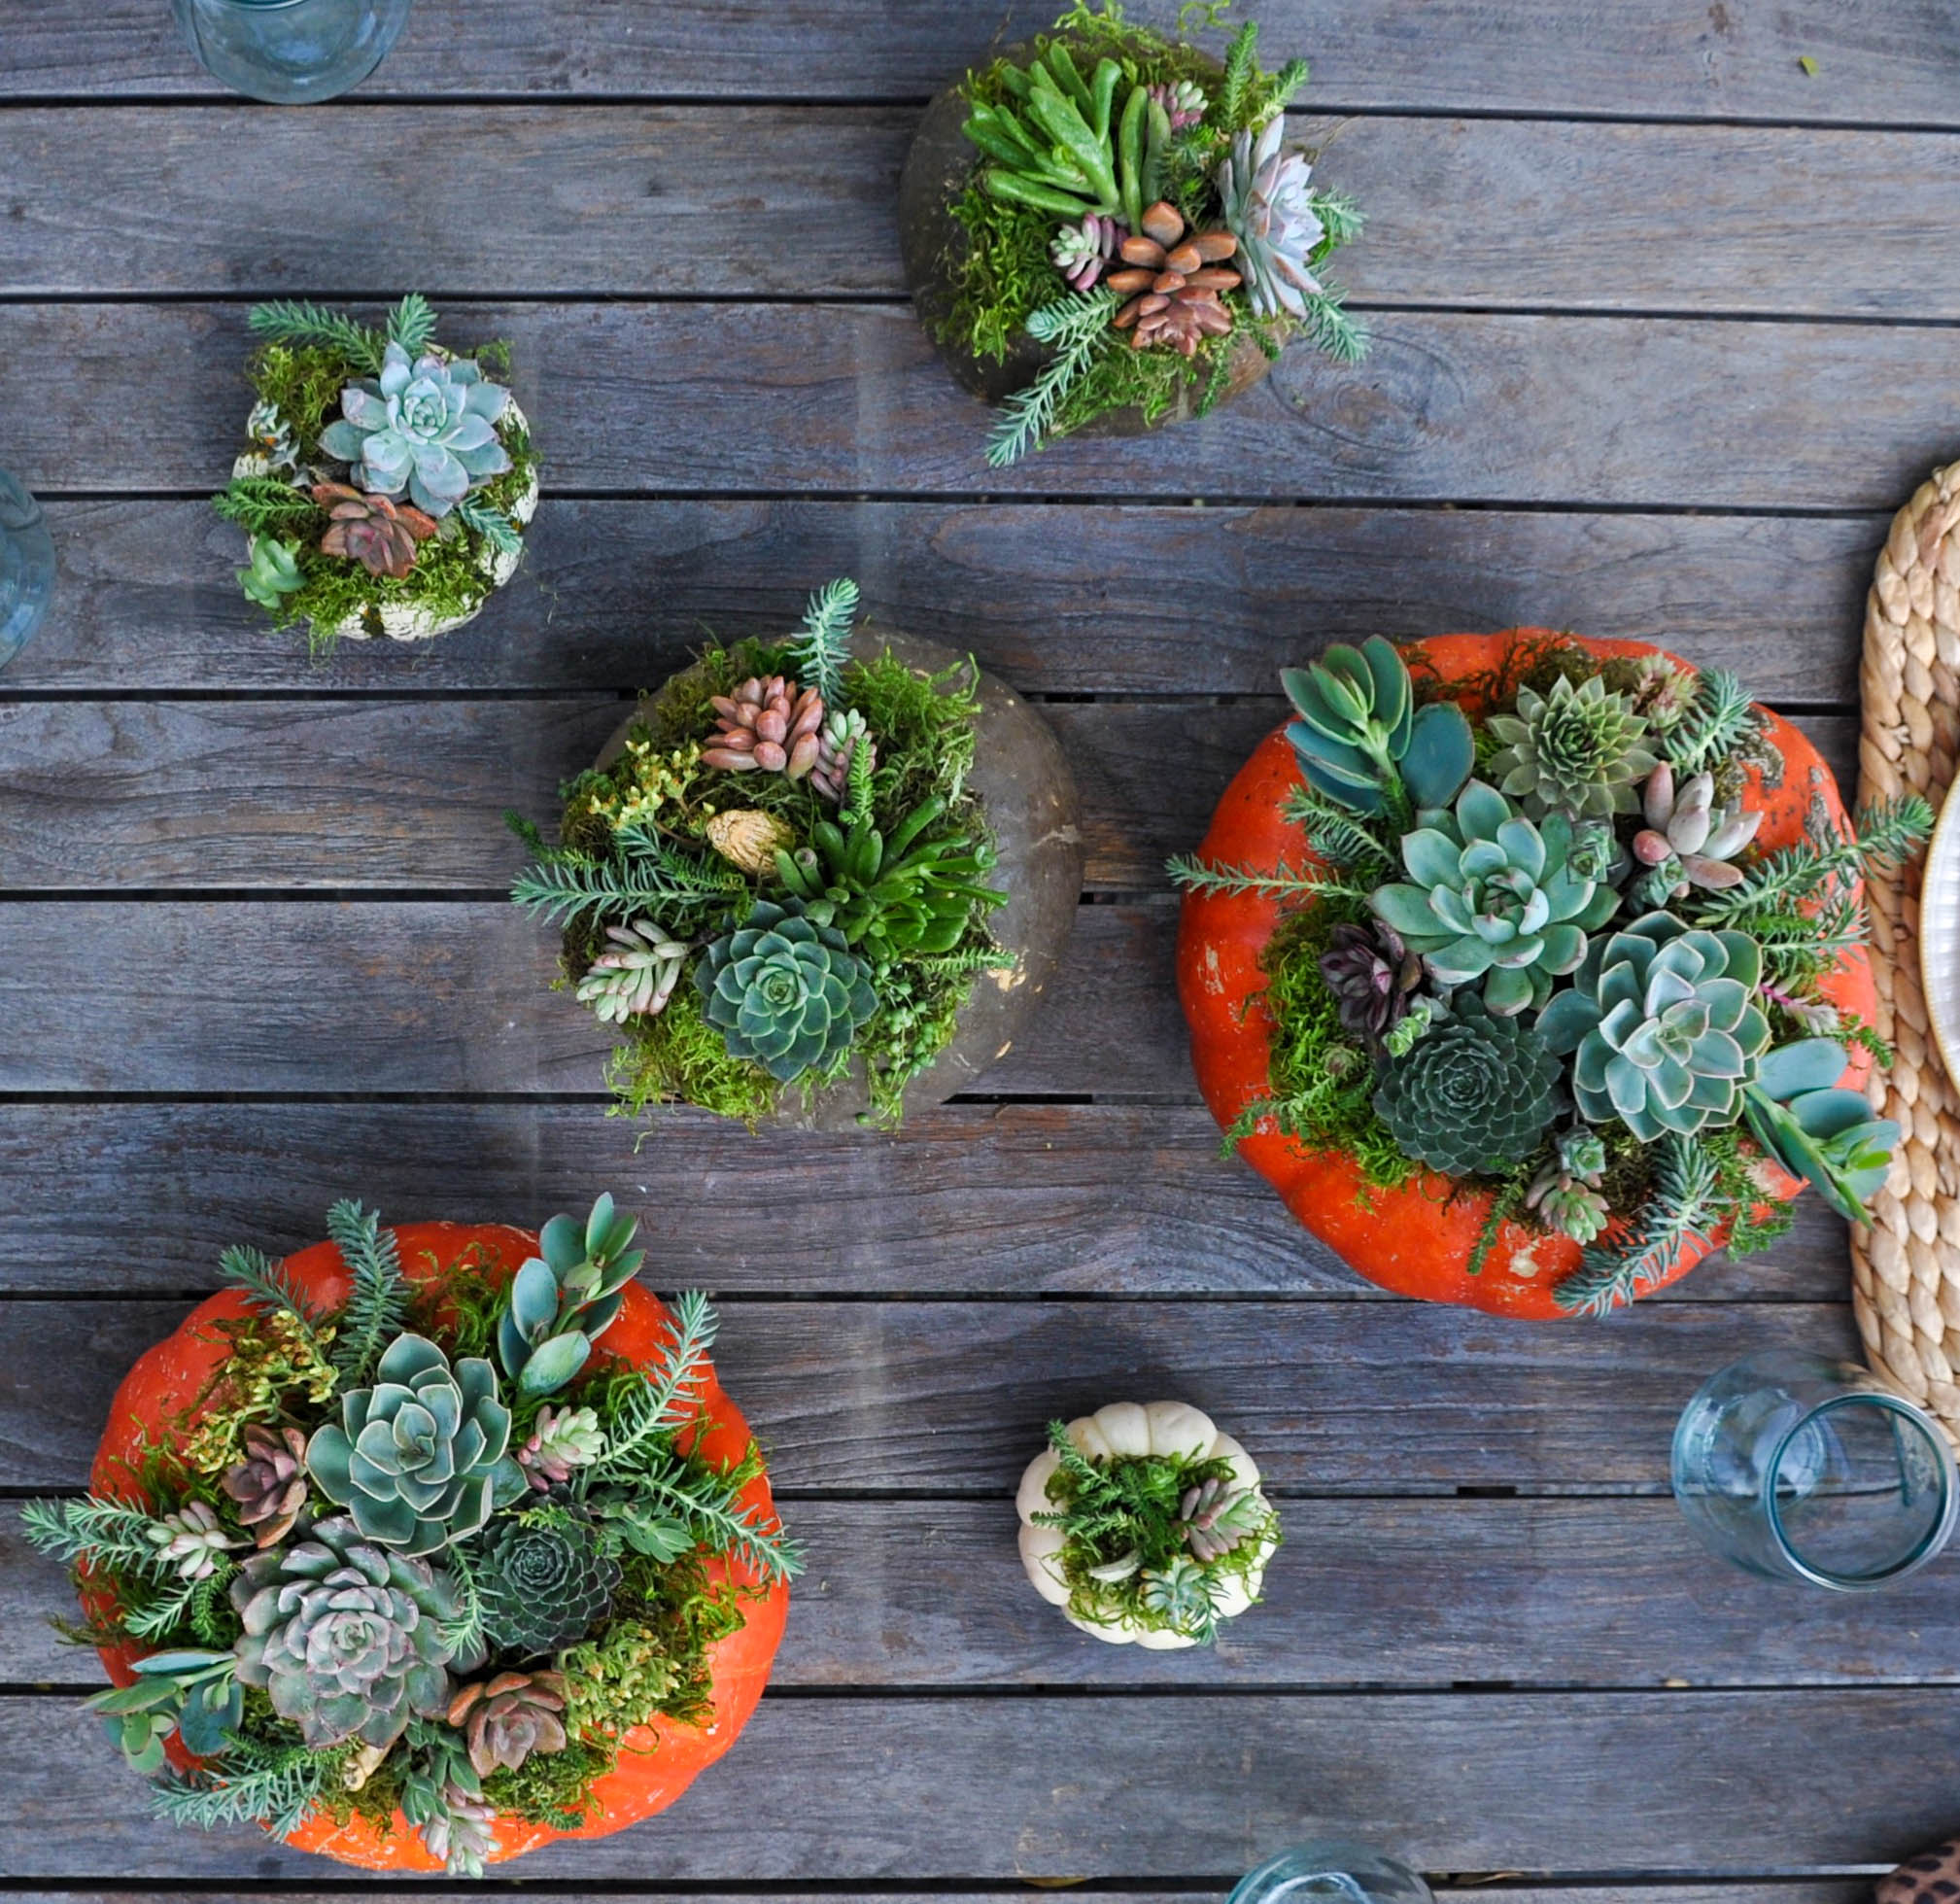
Think of the possibilities…You can adorn just one large pumpkin as a statement piece…
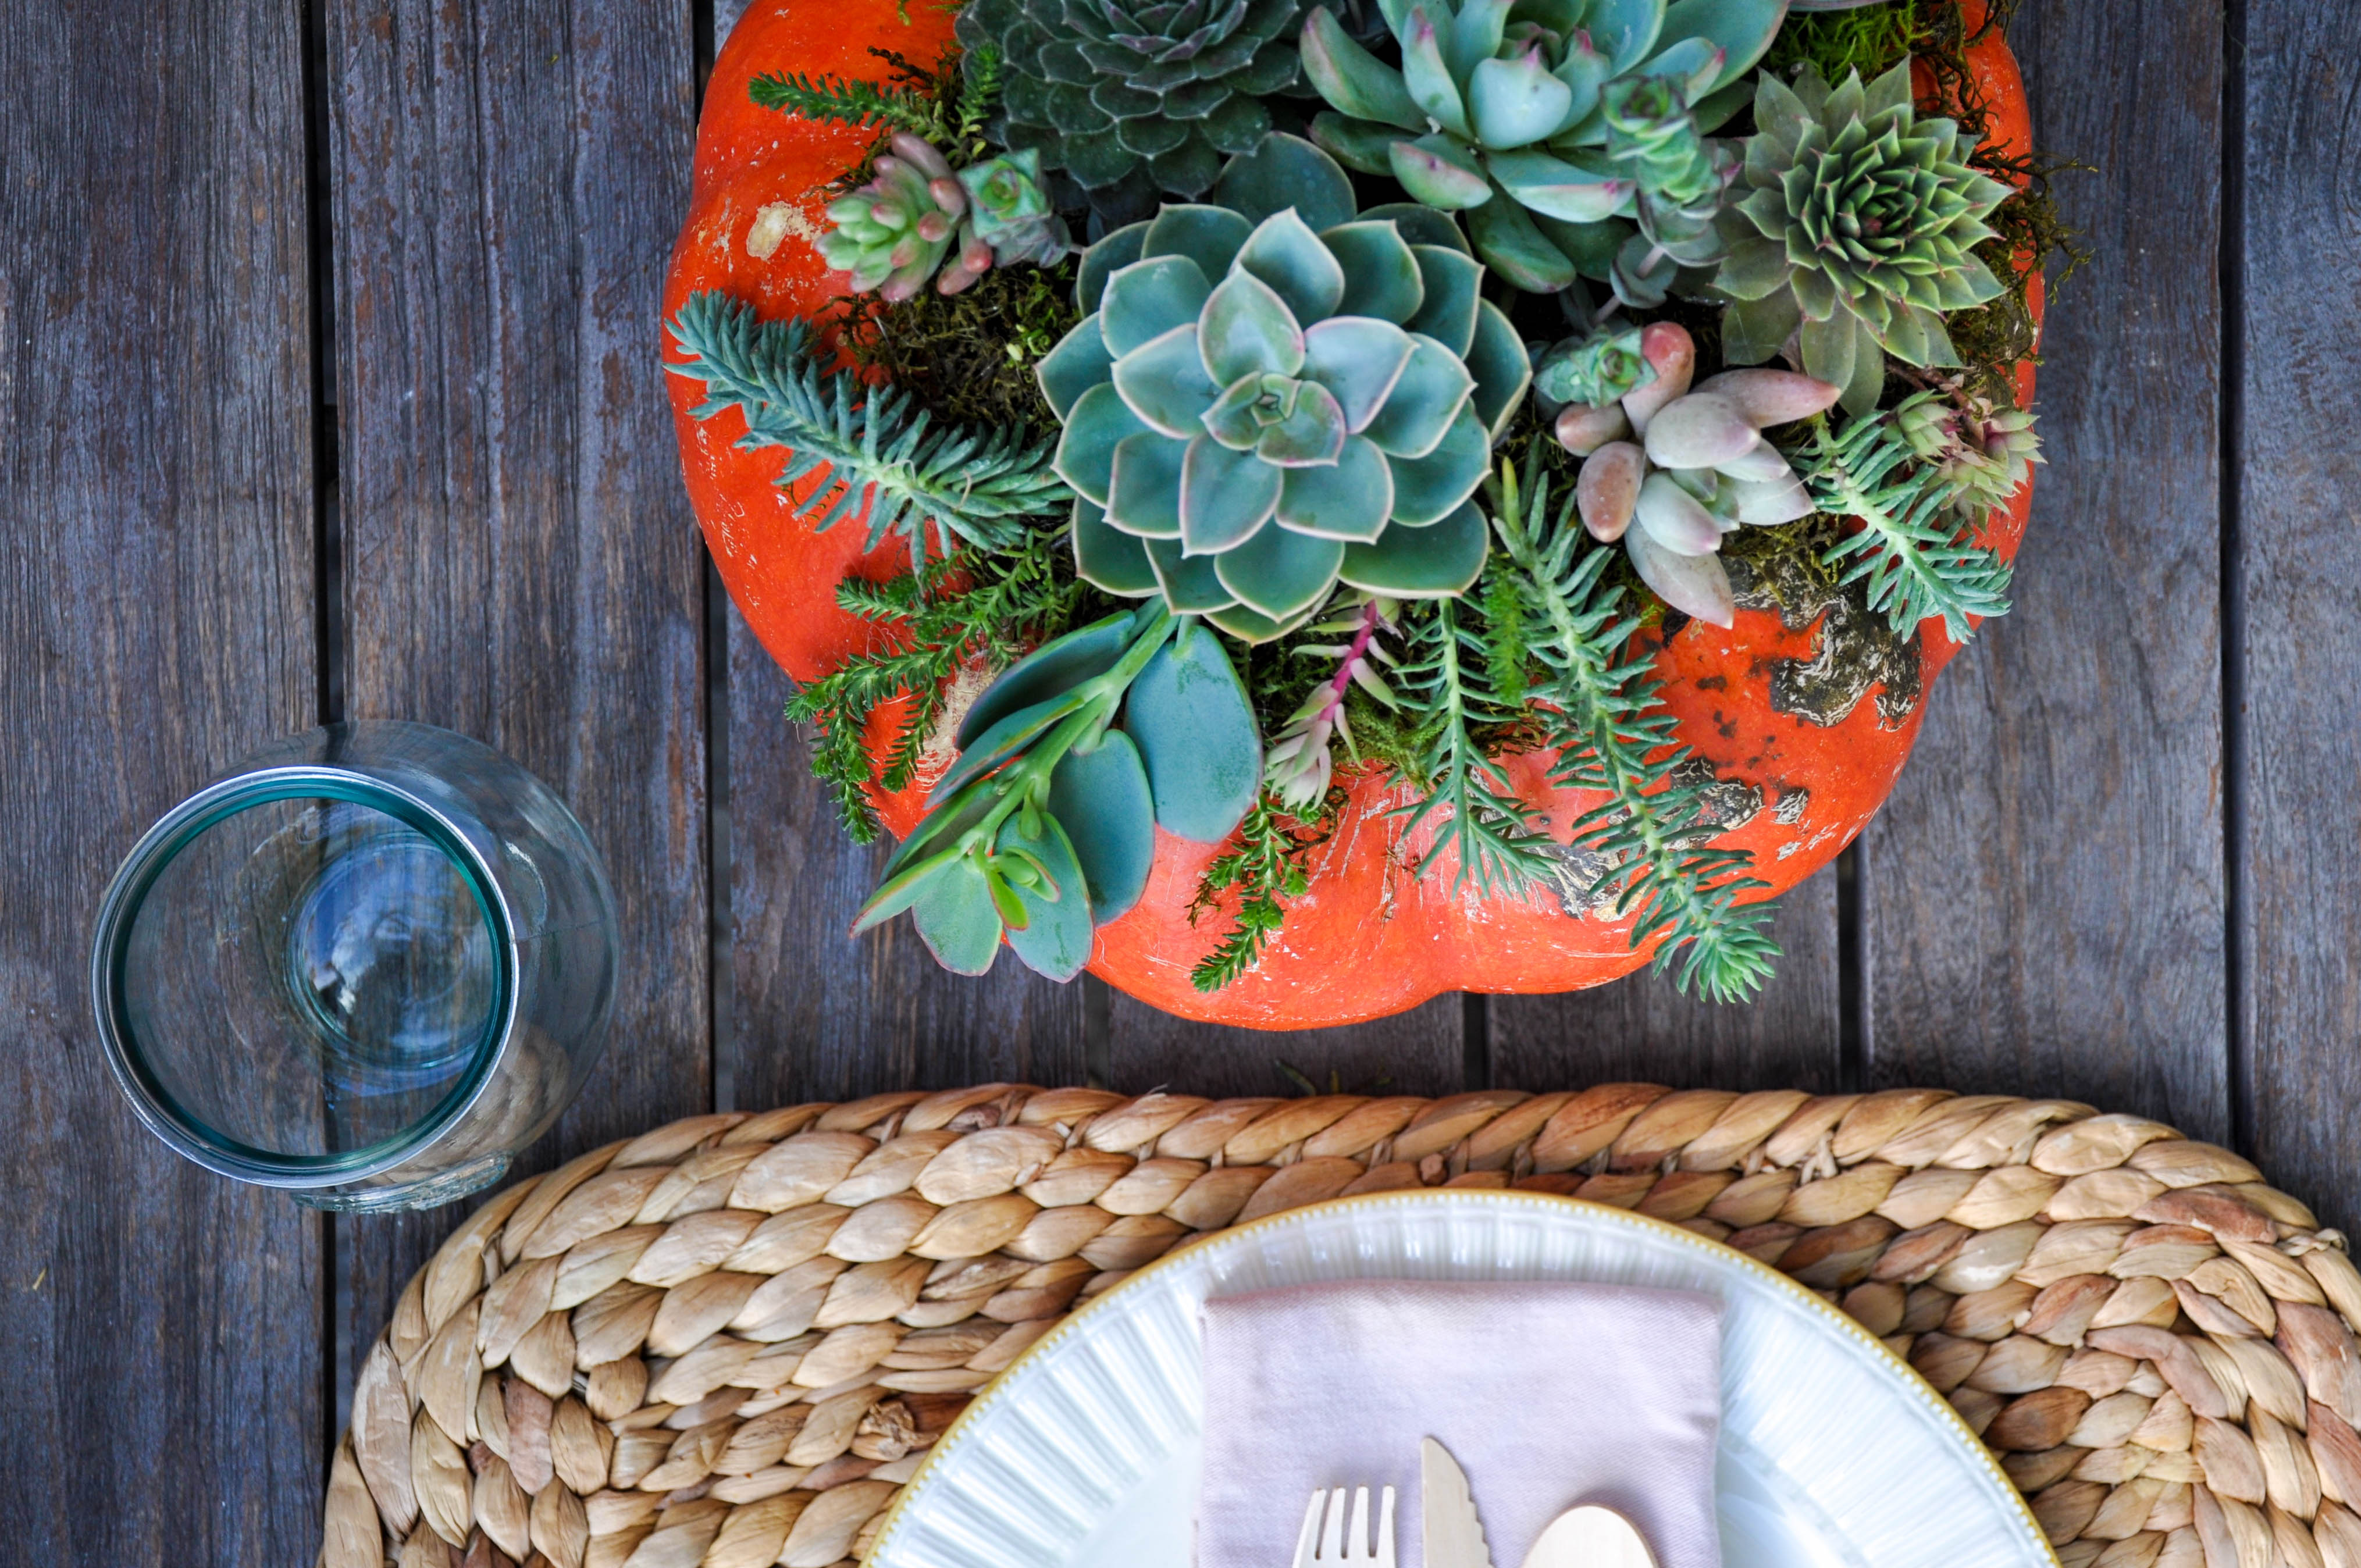
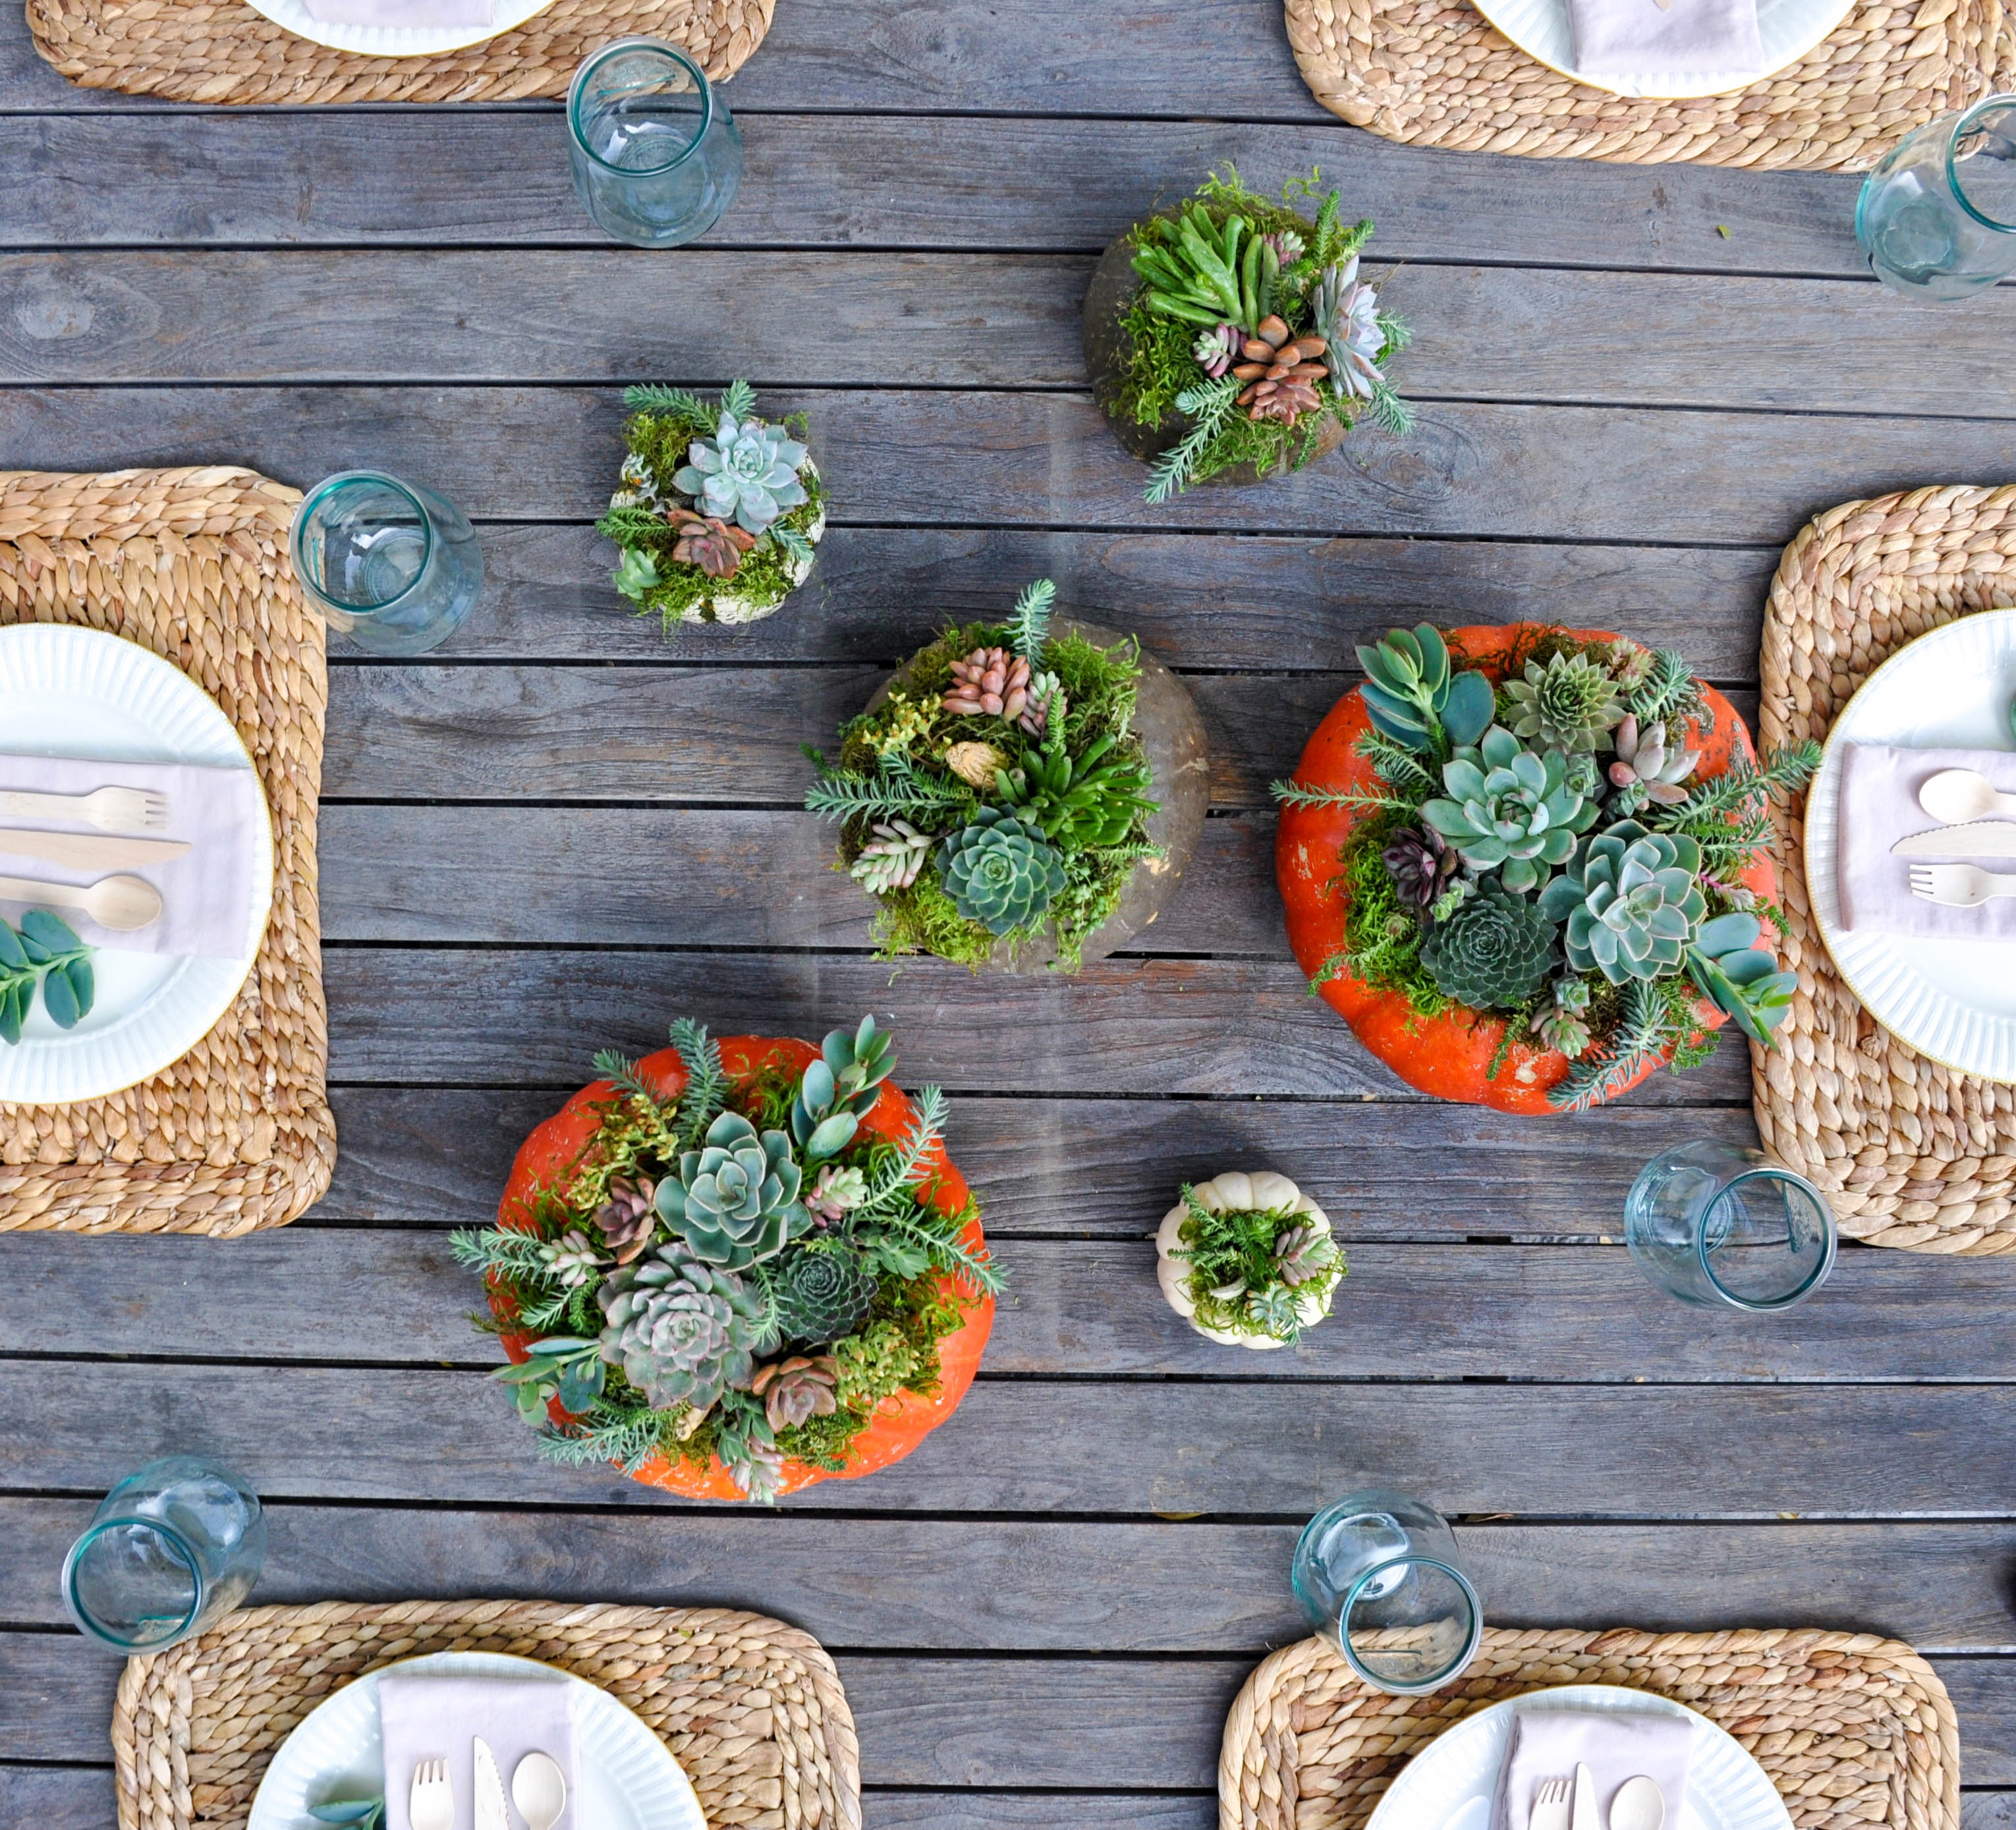
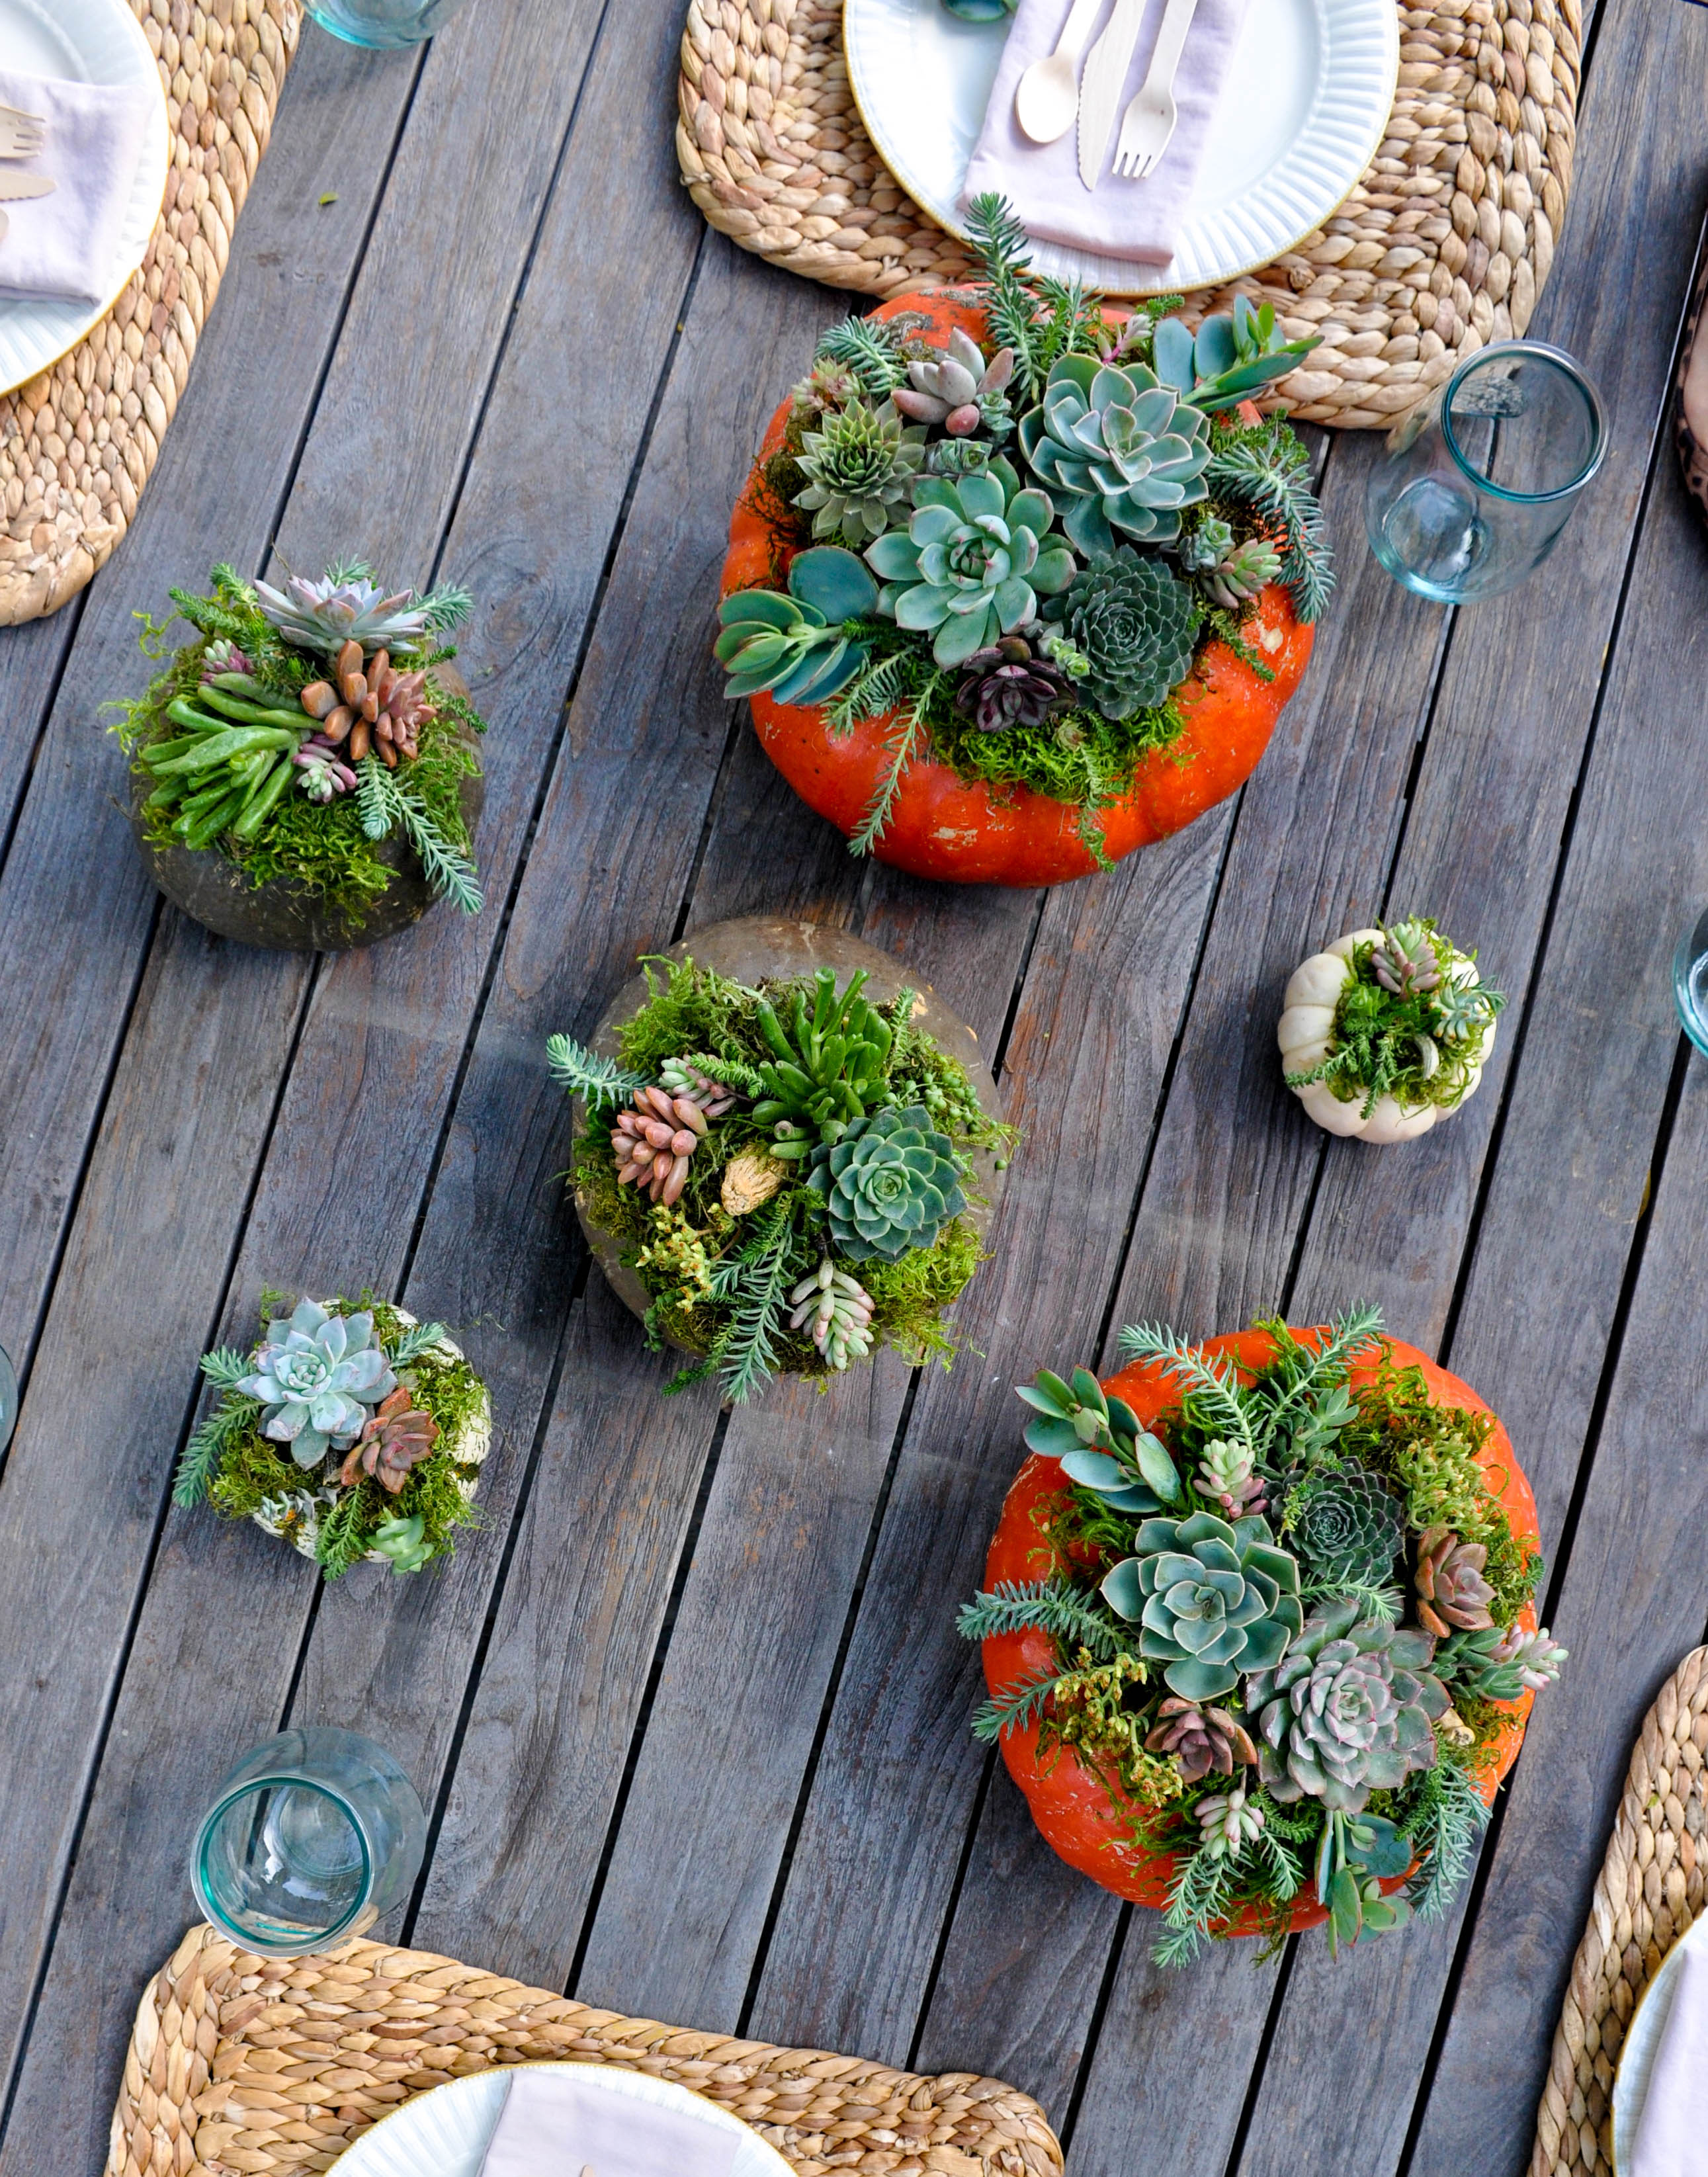
Or create a large grouping of gourds for the festivite table!

Keep your arrangments fresh by using a spray bottle and lightly misting them once a day.