DIY: Watermelon Keg

It makes perfect sense that a watermelon serves as a drink dispenser, right? It’s the ideal size and it just looks fun! Plus, you get to use all the sweet flesh of the watermelon that you scoop out as a terrific base for a refreshing Watermelon Punch. We purchased a watermelon tap kit from Amazon, however I’m sure you can find your own components at your local hardware store!
Let’s get started!
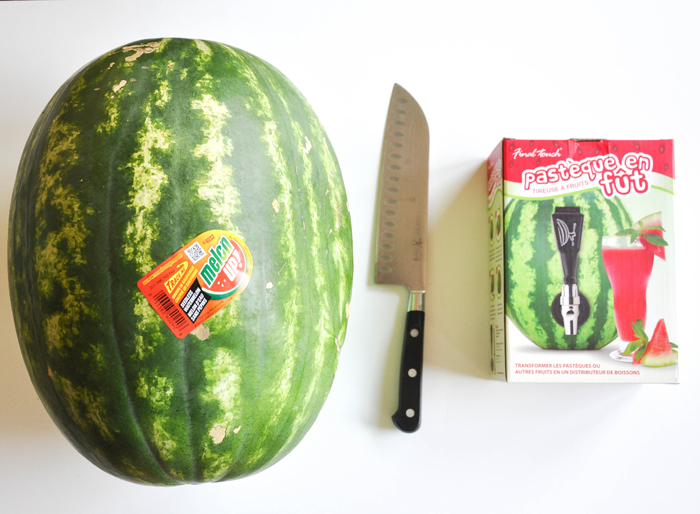
You will need:
- A fresh, California grown watermelon
- Sharp knife
- Watermelon Tap Kit
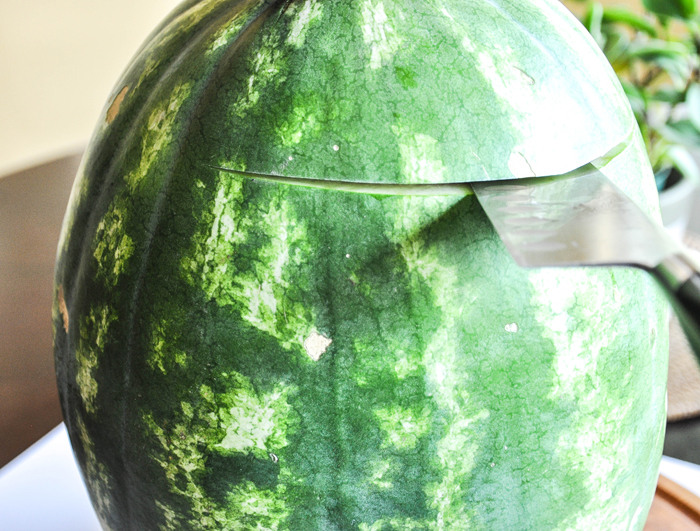
Start by cutting the top of the watermelon off, to create a nice, smooth surface
Even out any inconsistencies so the top is nice and flat

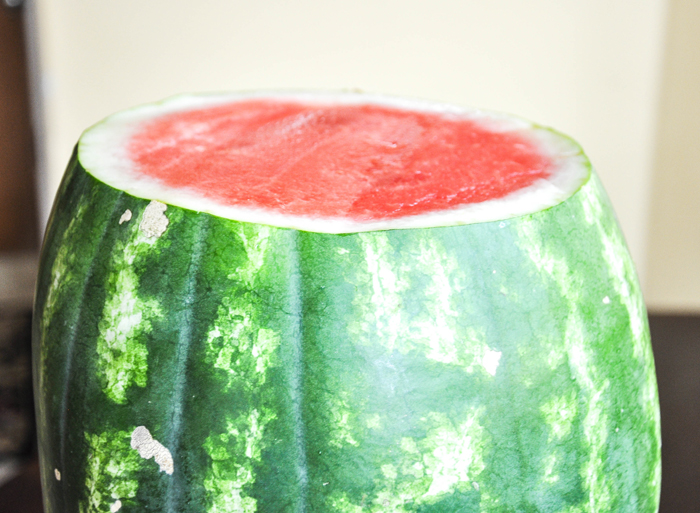
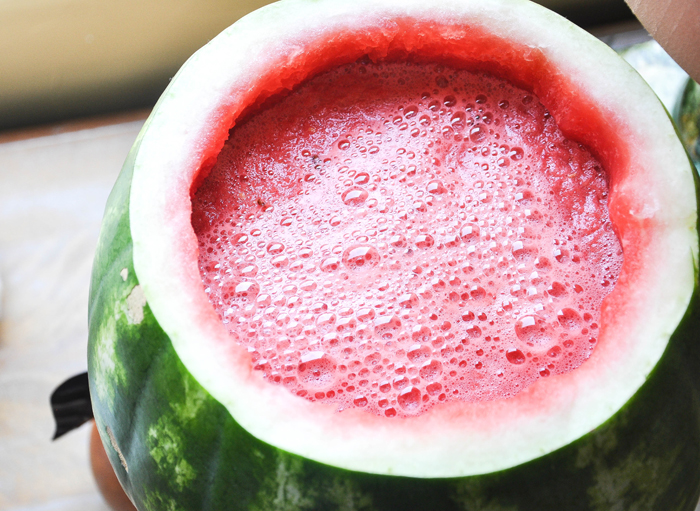
Use a large spoon and start scooping out the flesh. This is actually pretty easy because the fruit is so tender. Keep the scooped watermelon in a large bowl and set aside
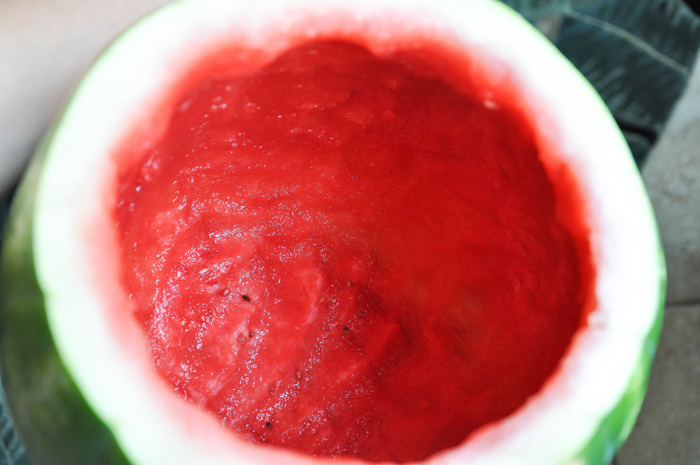
Here is the watermelon all scooped out!
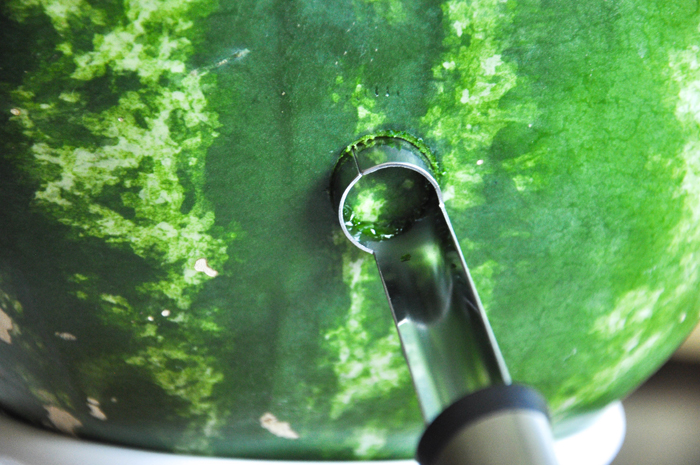
Insert the included corer in the watermelon about 2-3″ from the bottom. Make sure to pick a fairly flat surface of the watermelon. Push the corer in, using a steady hand. You need to twist the corer a little to get it through
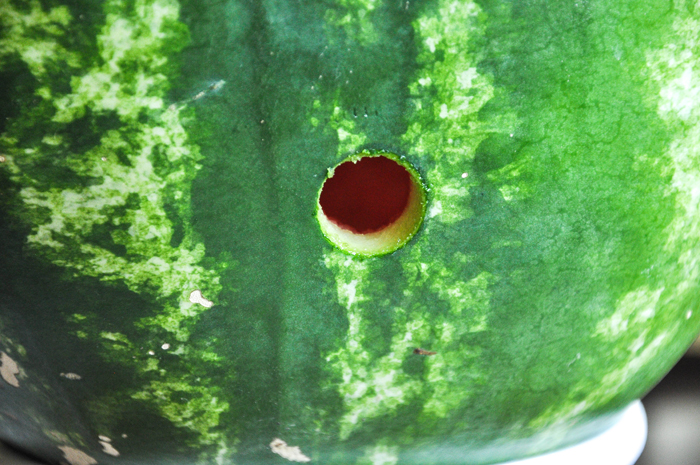
Yay! We have a nice round tunnel just the right size for our spigot
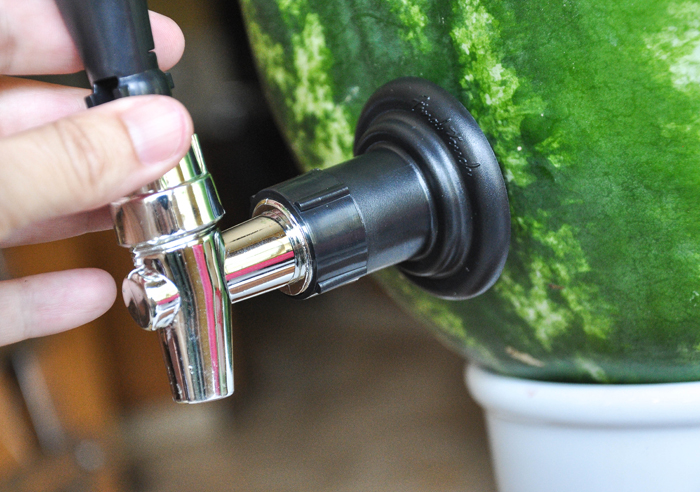
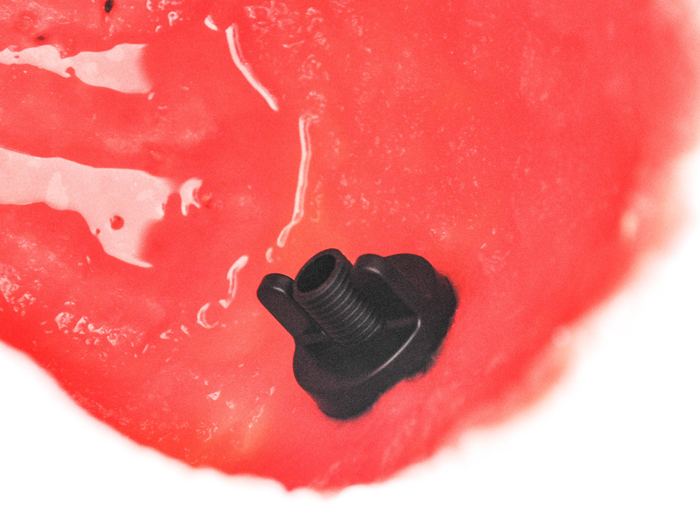
On the outside, insert the spigot through the tunnel on the front of the watermelon, making sure the shank is all the way through. On the inside, screw on the included locking nut on to the shank and tighten down to secure
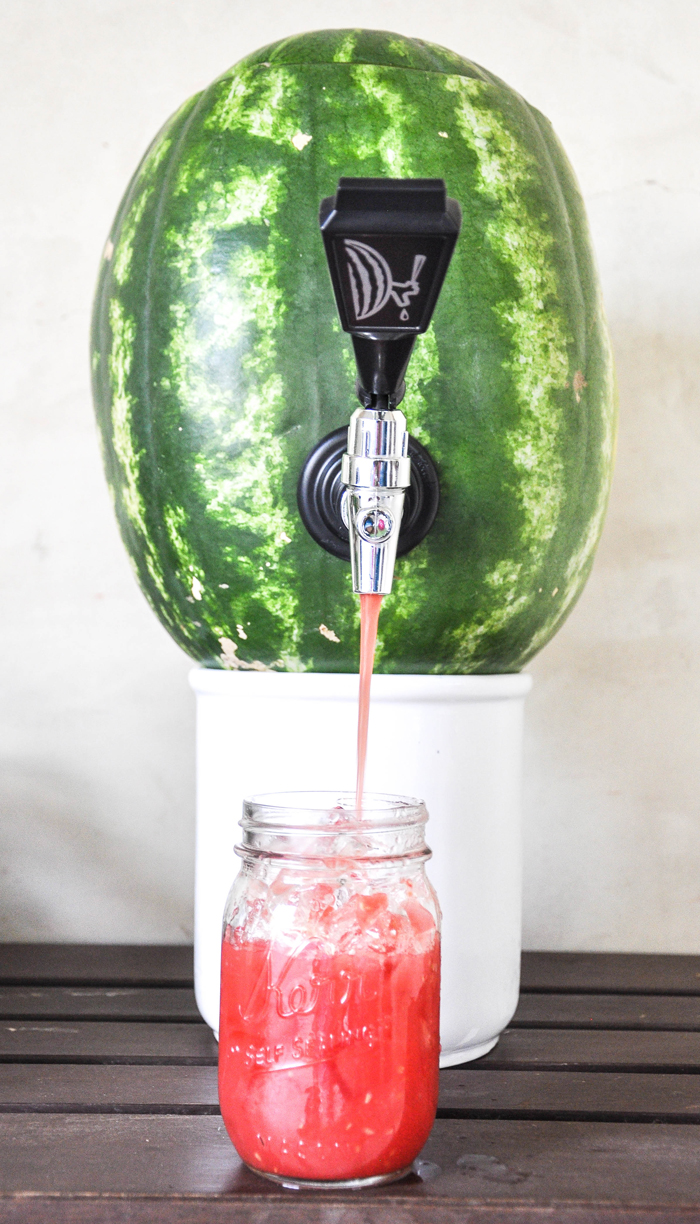
Fill your vessel with a terrific Watermelon Punch!
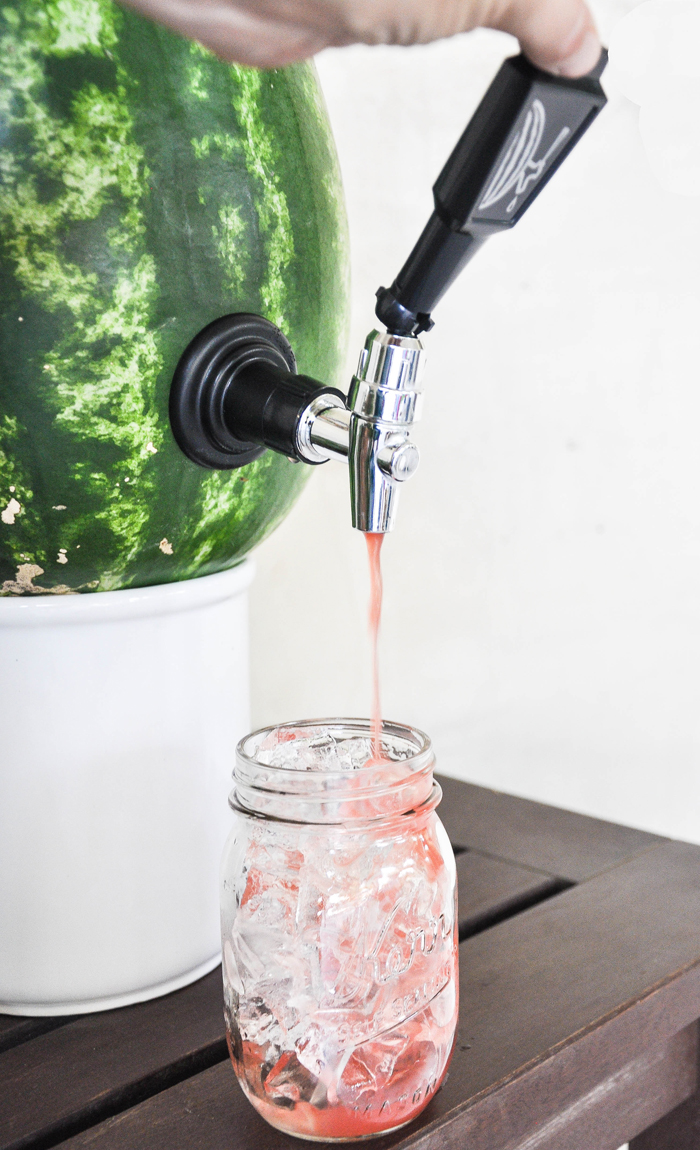
Fill up your glass and enjoy your creation.
I propped my watermelon on a ceramic canister and it was very stable. I wanted the spigot to be high enough to get a drink glass below it. You can also cut off a small portion off the bottom of the watermelon to create a flat surface. Just keep in mind with this method, the watermelon will need to be on the edge of the table so you can fill your glass.
Make sure to check out our awesome Wild Watermelon Punch HERE!